

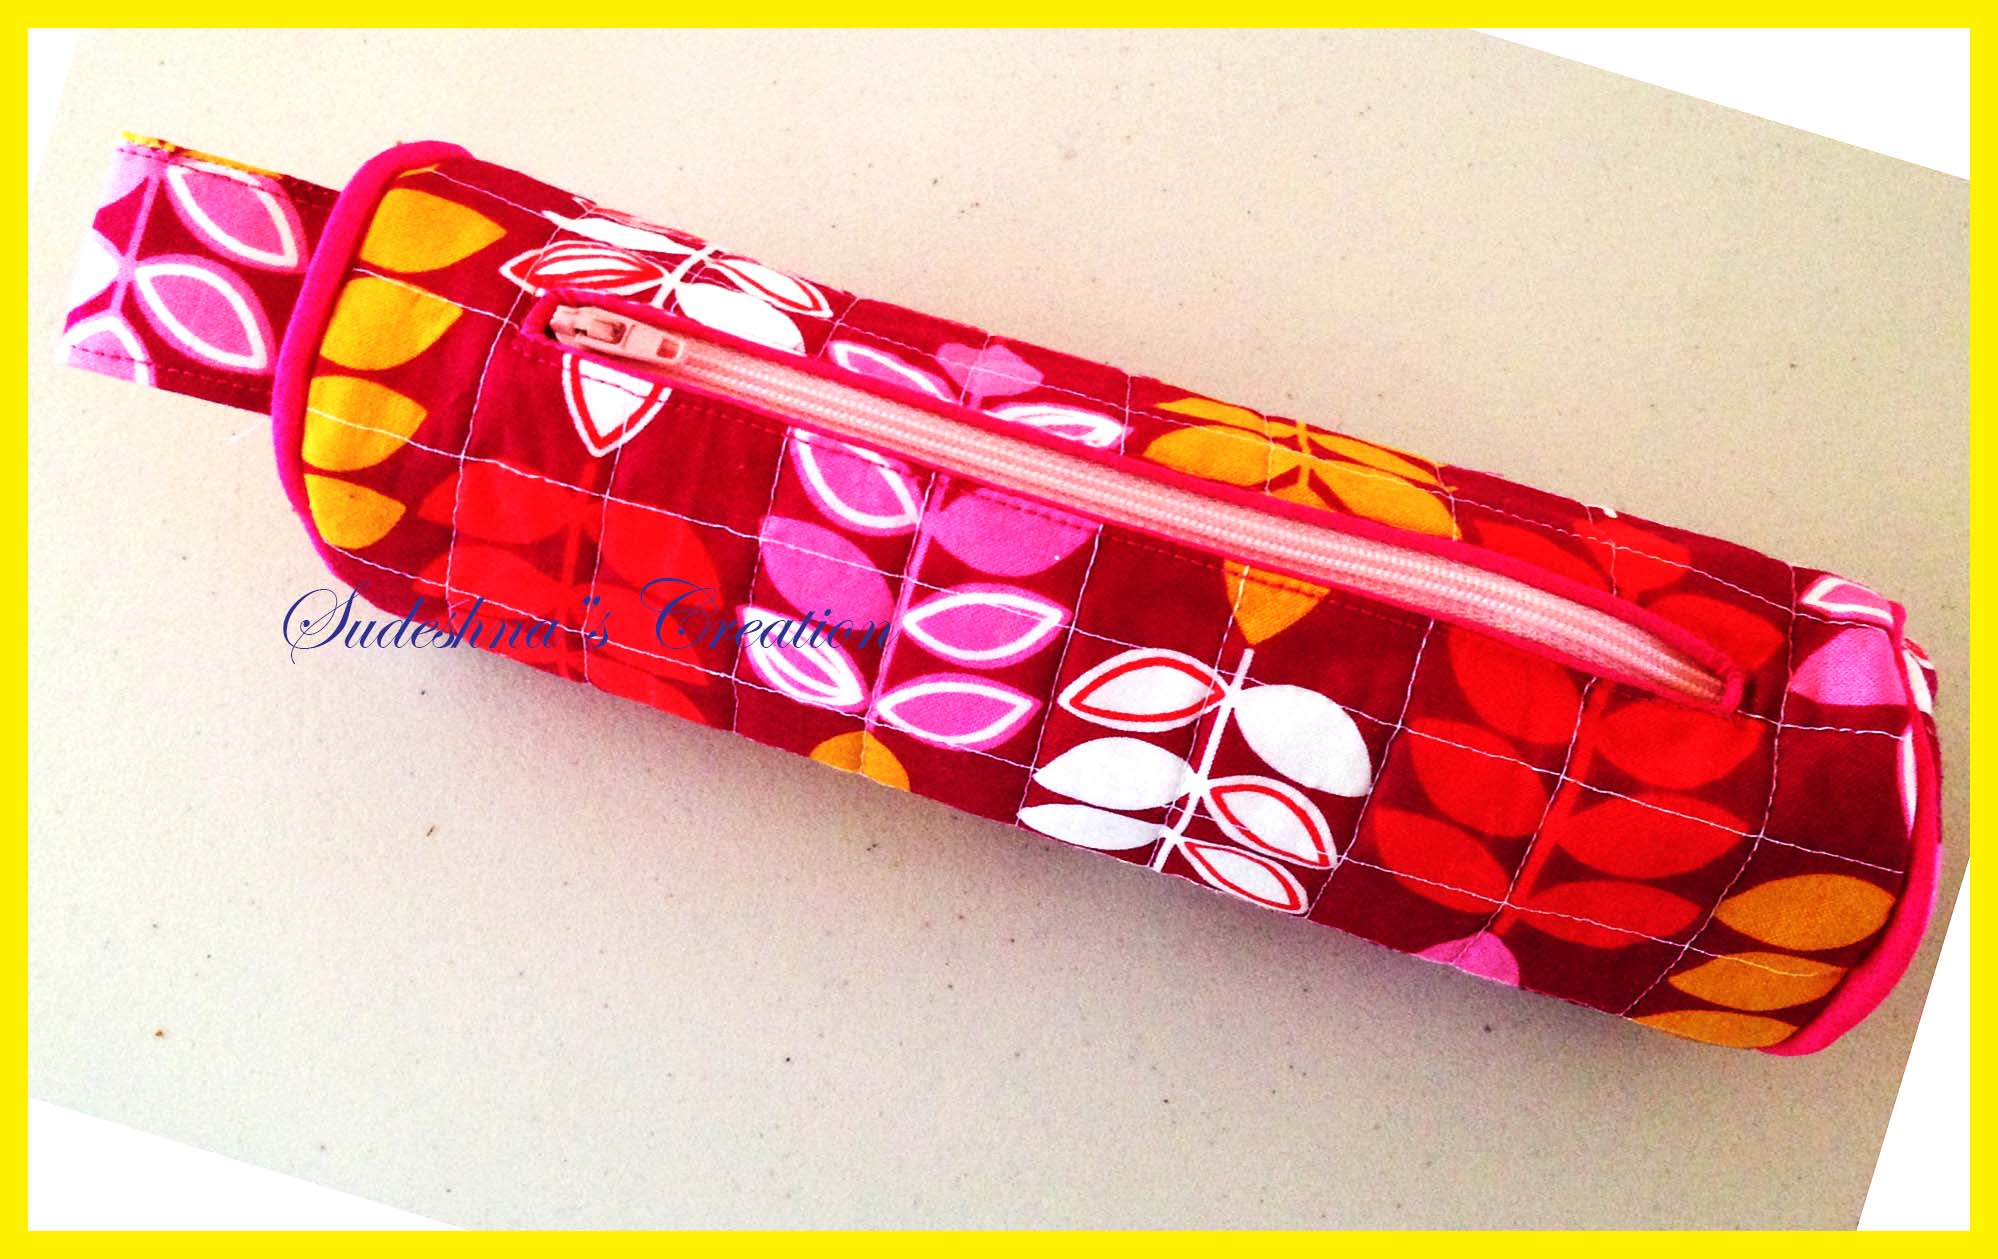
I started this project to learn the special zipper insertion technique. But the product turned out to be too cute to miss. Thought this could be a great little tutorial for lot of different techniques to learn and try on. But believe me it is quick to finish and at the end you will realize how many new things you learn. Okay let me start.
Materials List:
- 1/3 Yard of Outer fabric (Can be cotton or any other scrap fabric you have),
- Cotton batting/Fleece for lining
- 1/3 yard interfacing
- 7″ zipper
- piping cord
- matching bias tape
- Thread to match
- Sewing machine, Scissors
Step 1: Cutting Fabric
Cut out the following from outer fabric, lining fabric and interfacing:
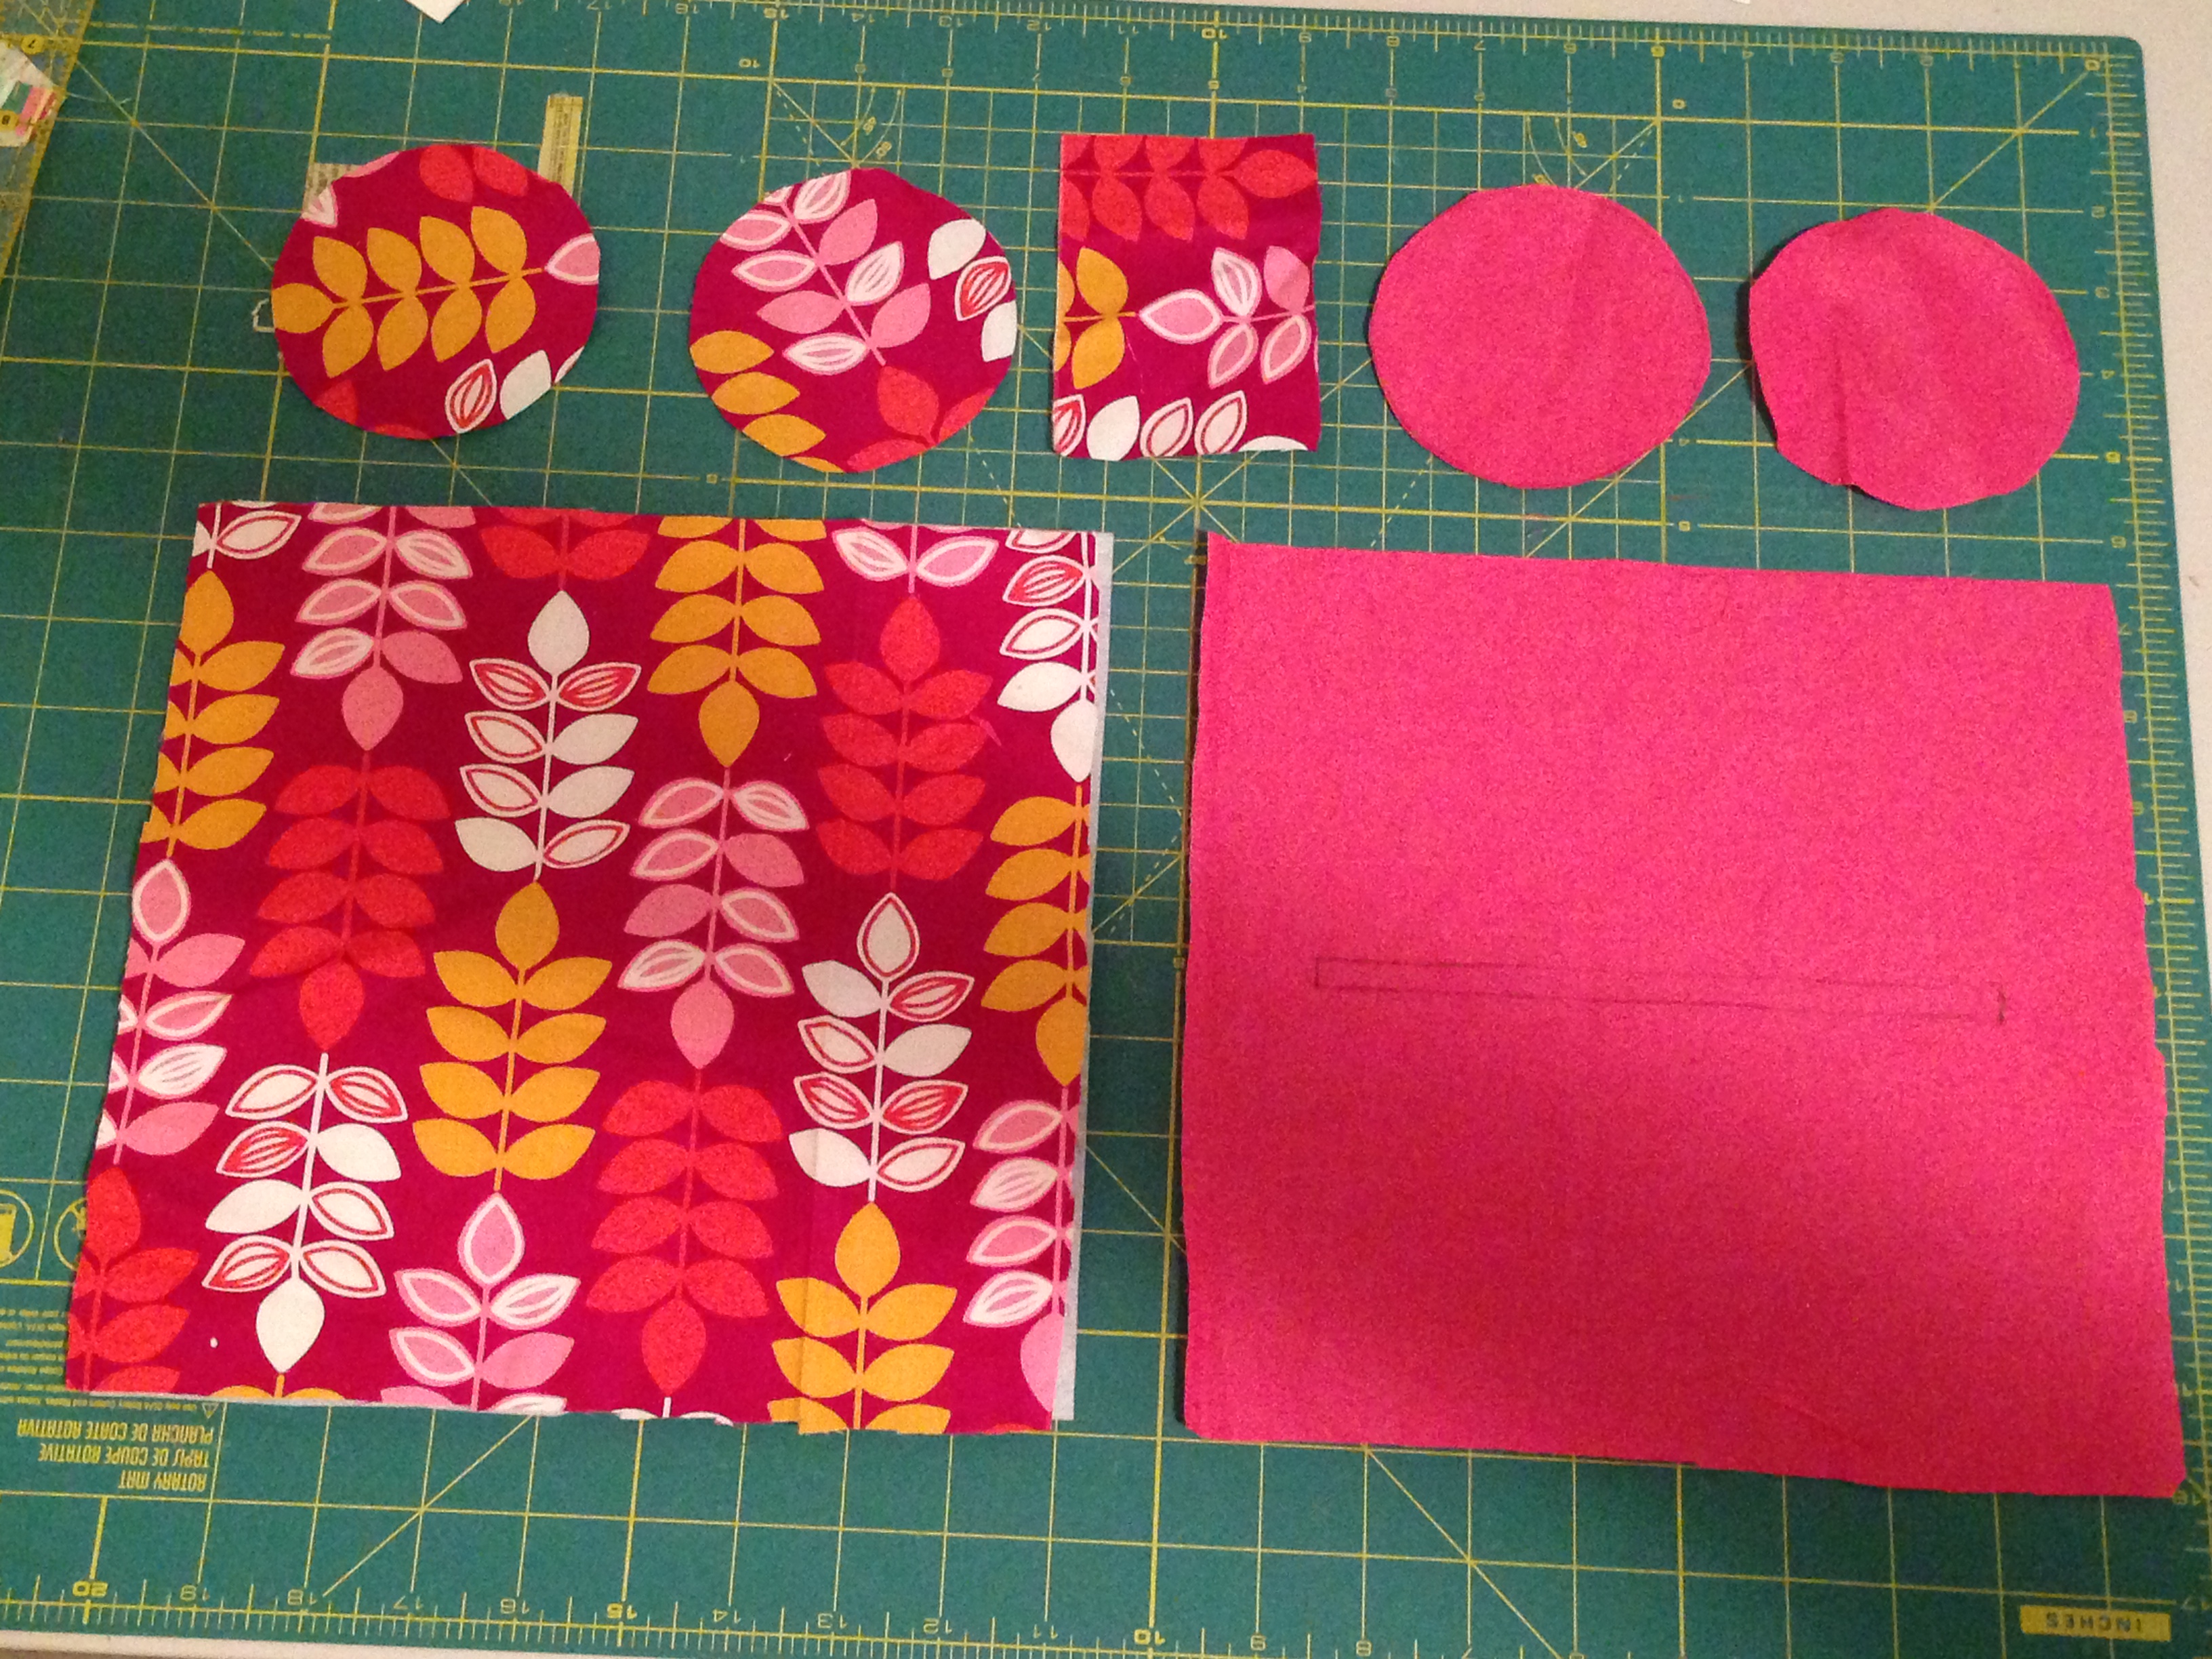
- 9.5″ x 9.5″ square from Outer fabric + Lining fabric + interfacing + batting/ fleece ;
- 3.5″ diameter circle from Outer fabric + Lining fabric + interfacing + batting/ fleece
- 2.5″x4″ rectangle from Outer fabric + Interfacing for pull tab
Step 2: Making Pull Tab
Take the 2.5″x4″ outer fabric and interfacing and place fusible part of interfacing on the wrong side of the fabric and iron it to fuse it. Then fold the fabric lengthwise right side of fabric facing together. Stitch 1/8″ seam as shown to close the 3 sides , but a little opening at the end to turn the fabric inside out.
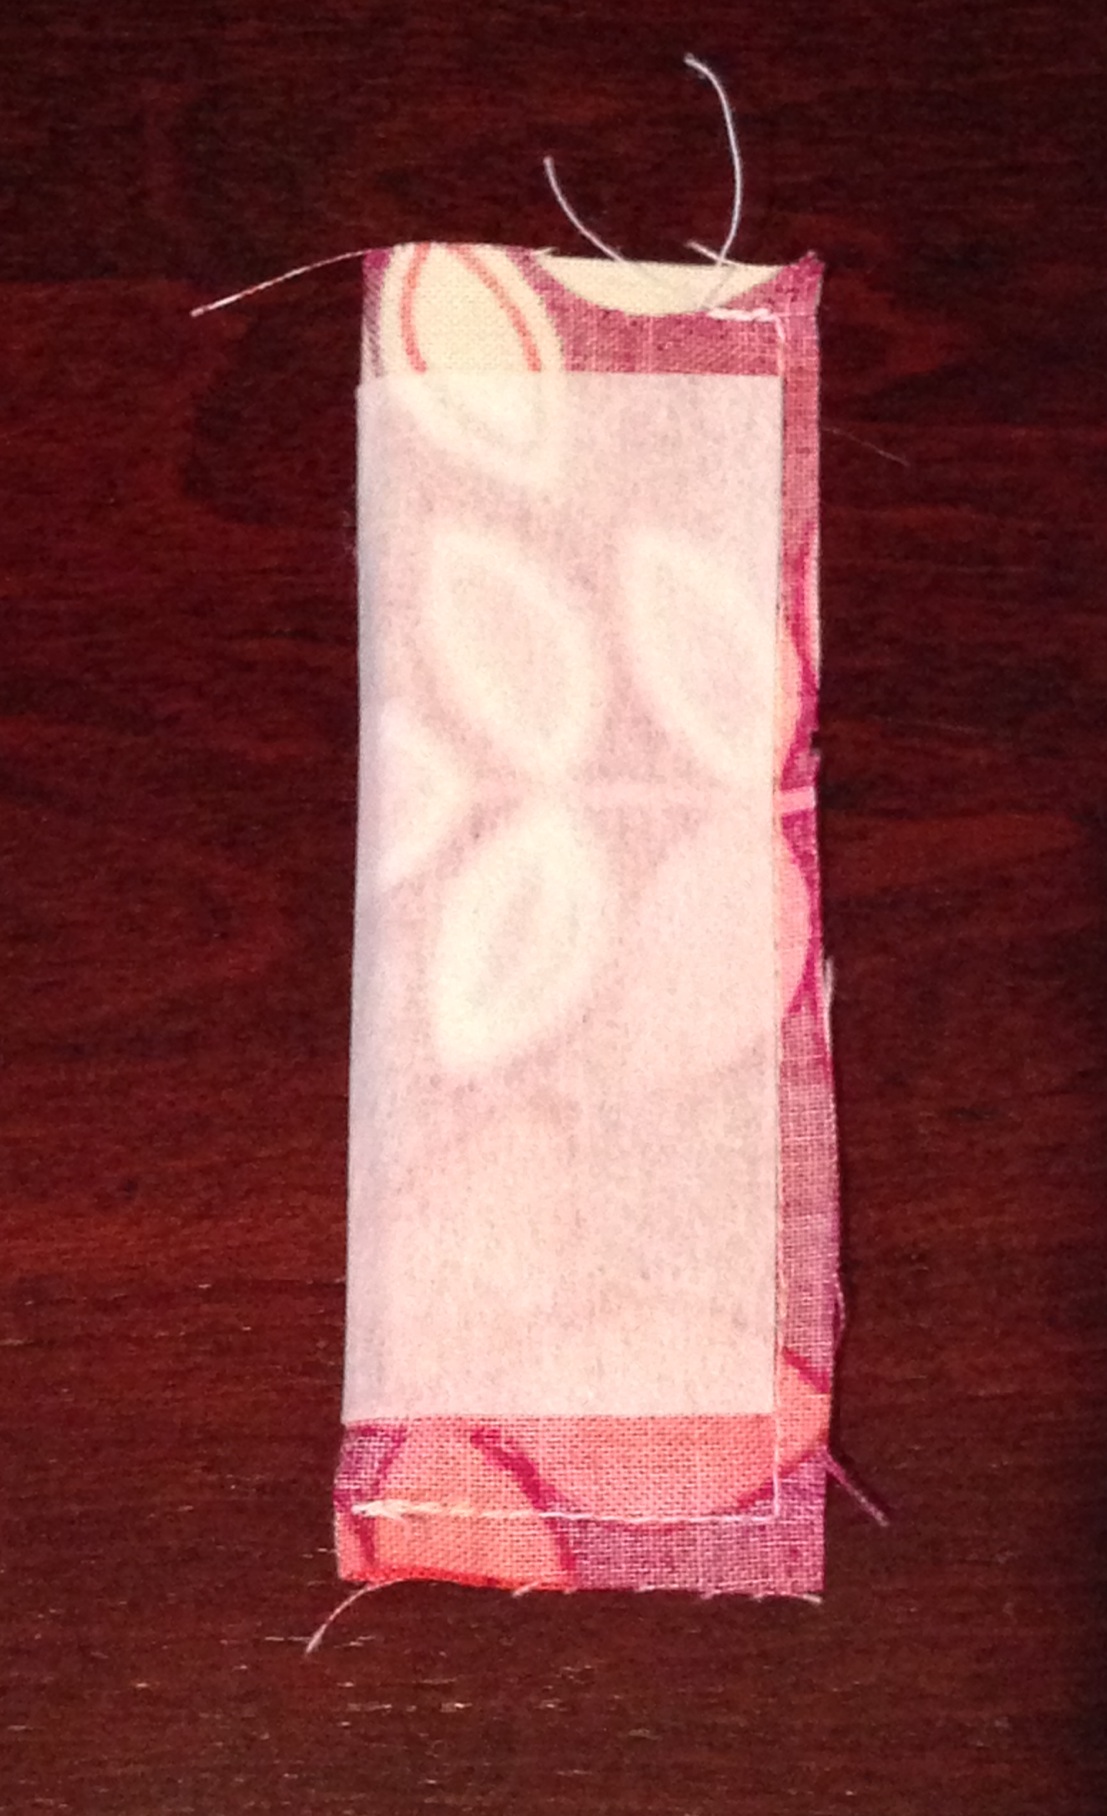
Use a pencil or knitting needle to push the closed end to help turn it around to right side out. Press and fold the fabric.
Step 3: Marking for the Zipper Insertion
Fold the outer fabric and lining in half to make a crease to mark the center and draw a rectangle as shown 3/4″x7″ in the middle.

Step4: Quilting
Place batting on the wrong side of the fabric and then fusible interfacing (fusible part facing the batting), making a sandwich of fabric and interfacing with batting as a filling.See pic: I have intentionally cut a hole in batting in the middle where I drew the rectangle ( previous pic) to reduce the bulk. But that is optional. Iron the interfacing to fuse it to the batting.

Now take the quilt sandwich to sewing machine and sew straight stitches. I used a quilting walking foot but normal walking foot will be just fine. See how I straight stitched to make a grid. This is the simplest form of quilting and looks quite effective in handbag or garments.

Use the same technique to make the quilted side circles. At the end you will have:

Step 5 : Adding Piping(Optional)
This is an optional step. But piping adds an extra dimension to any bag.
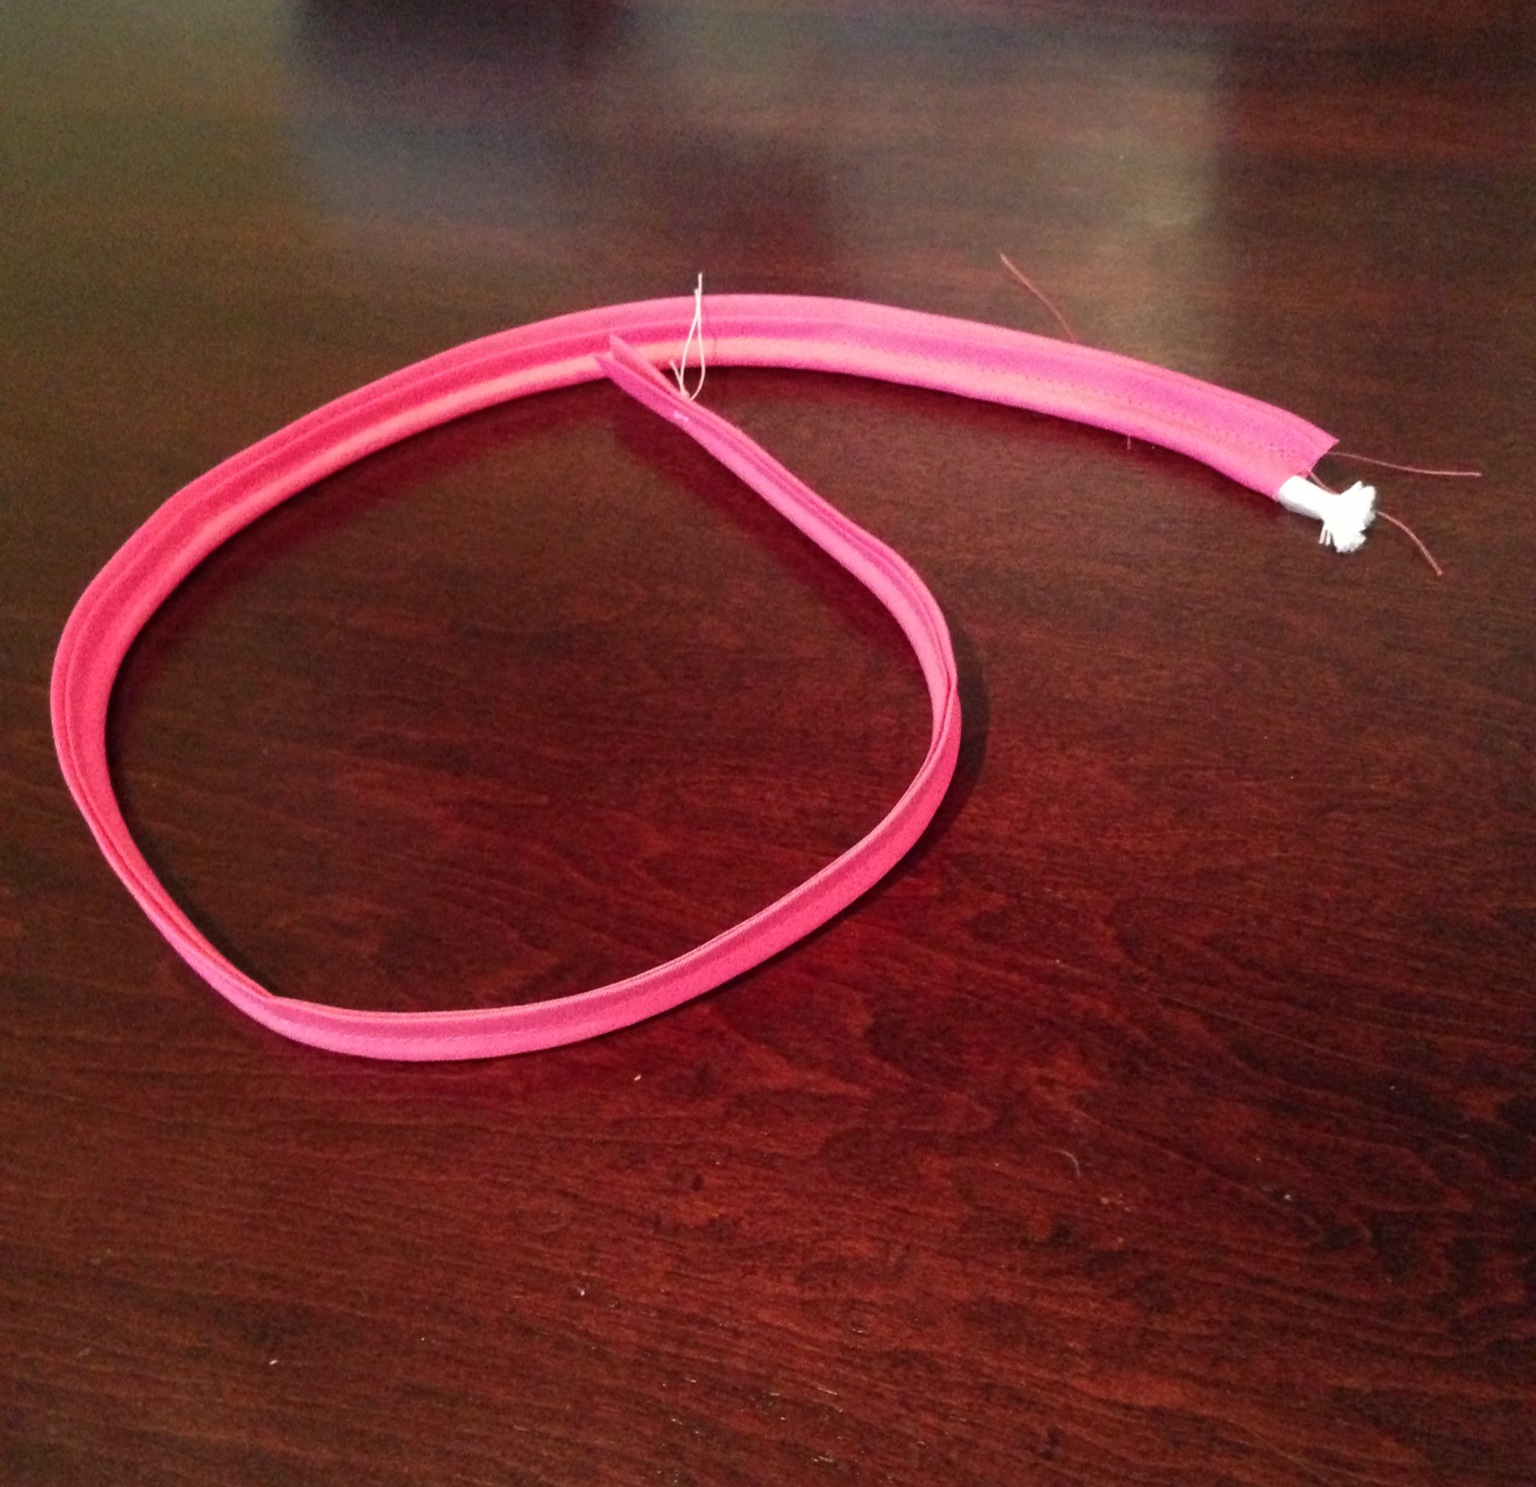
You can buy ready made piping from store or use the following method to make one.
Get any single folded store bought bias tape and piping cord. I used a double folded bias tape because that is what I had. It just make the seam a little bulky and hard to tackle. You can get piping cord from the upholstery section of fabric store.
Note: You can make home made bias tape also. I was lazy to make mine. It works out just fine. Search YouTube for ” Make Bias Tape” and you will find plenty of tutorials.
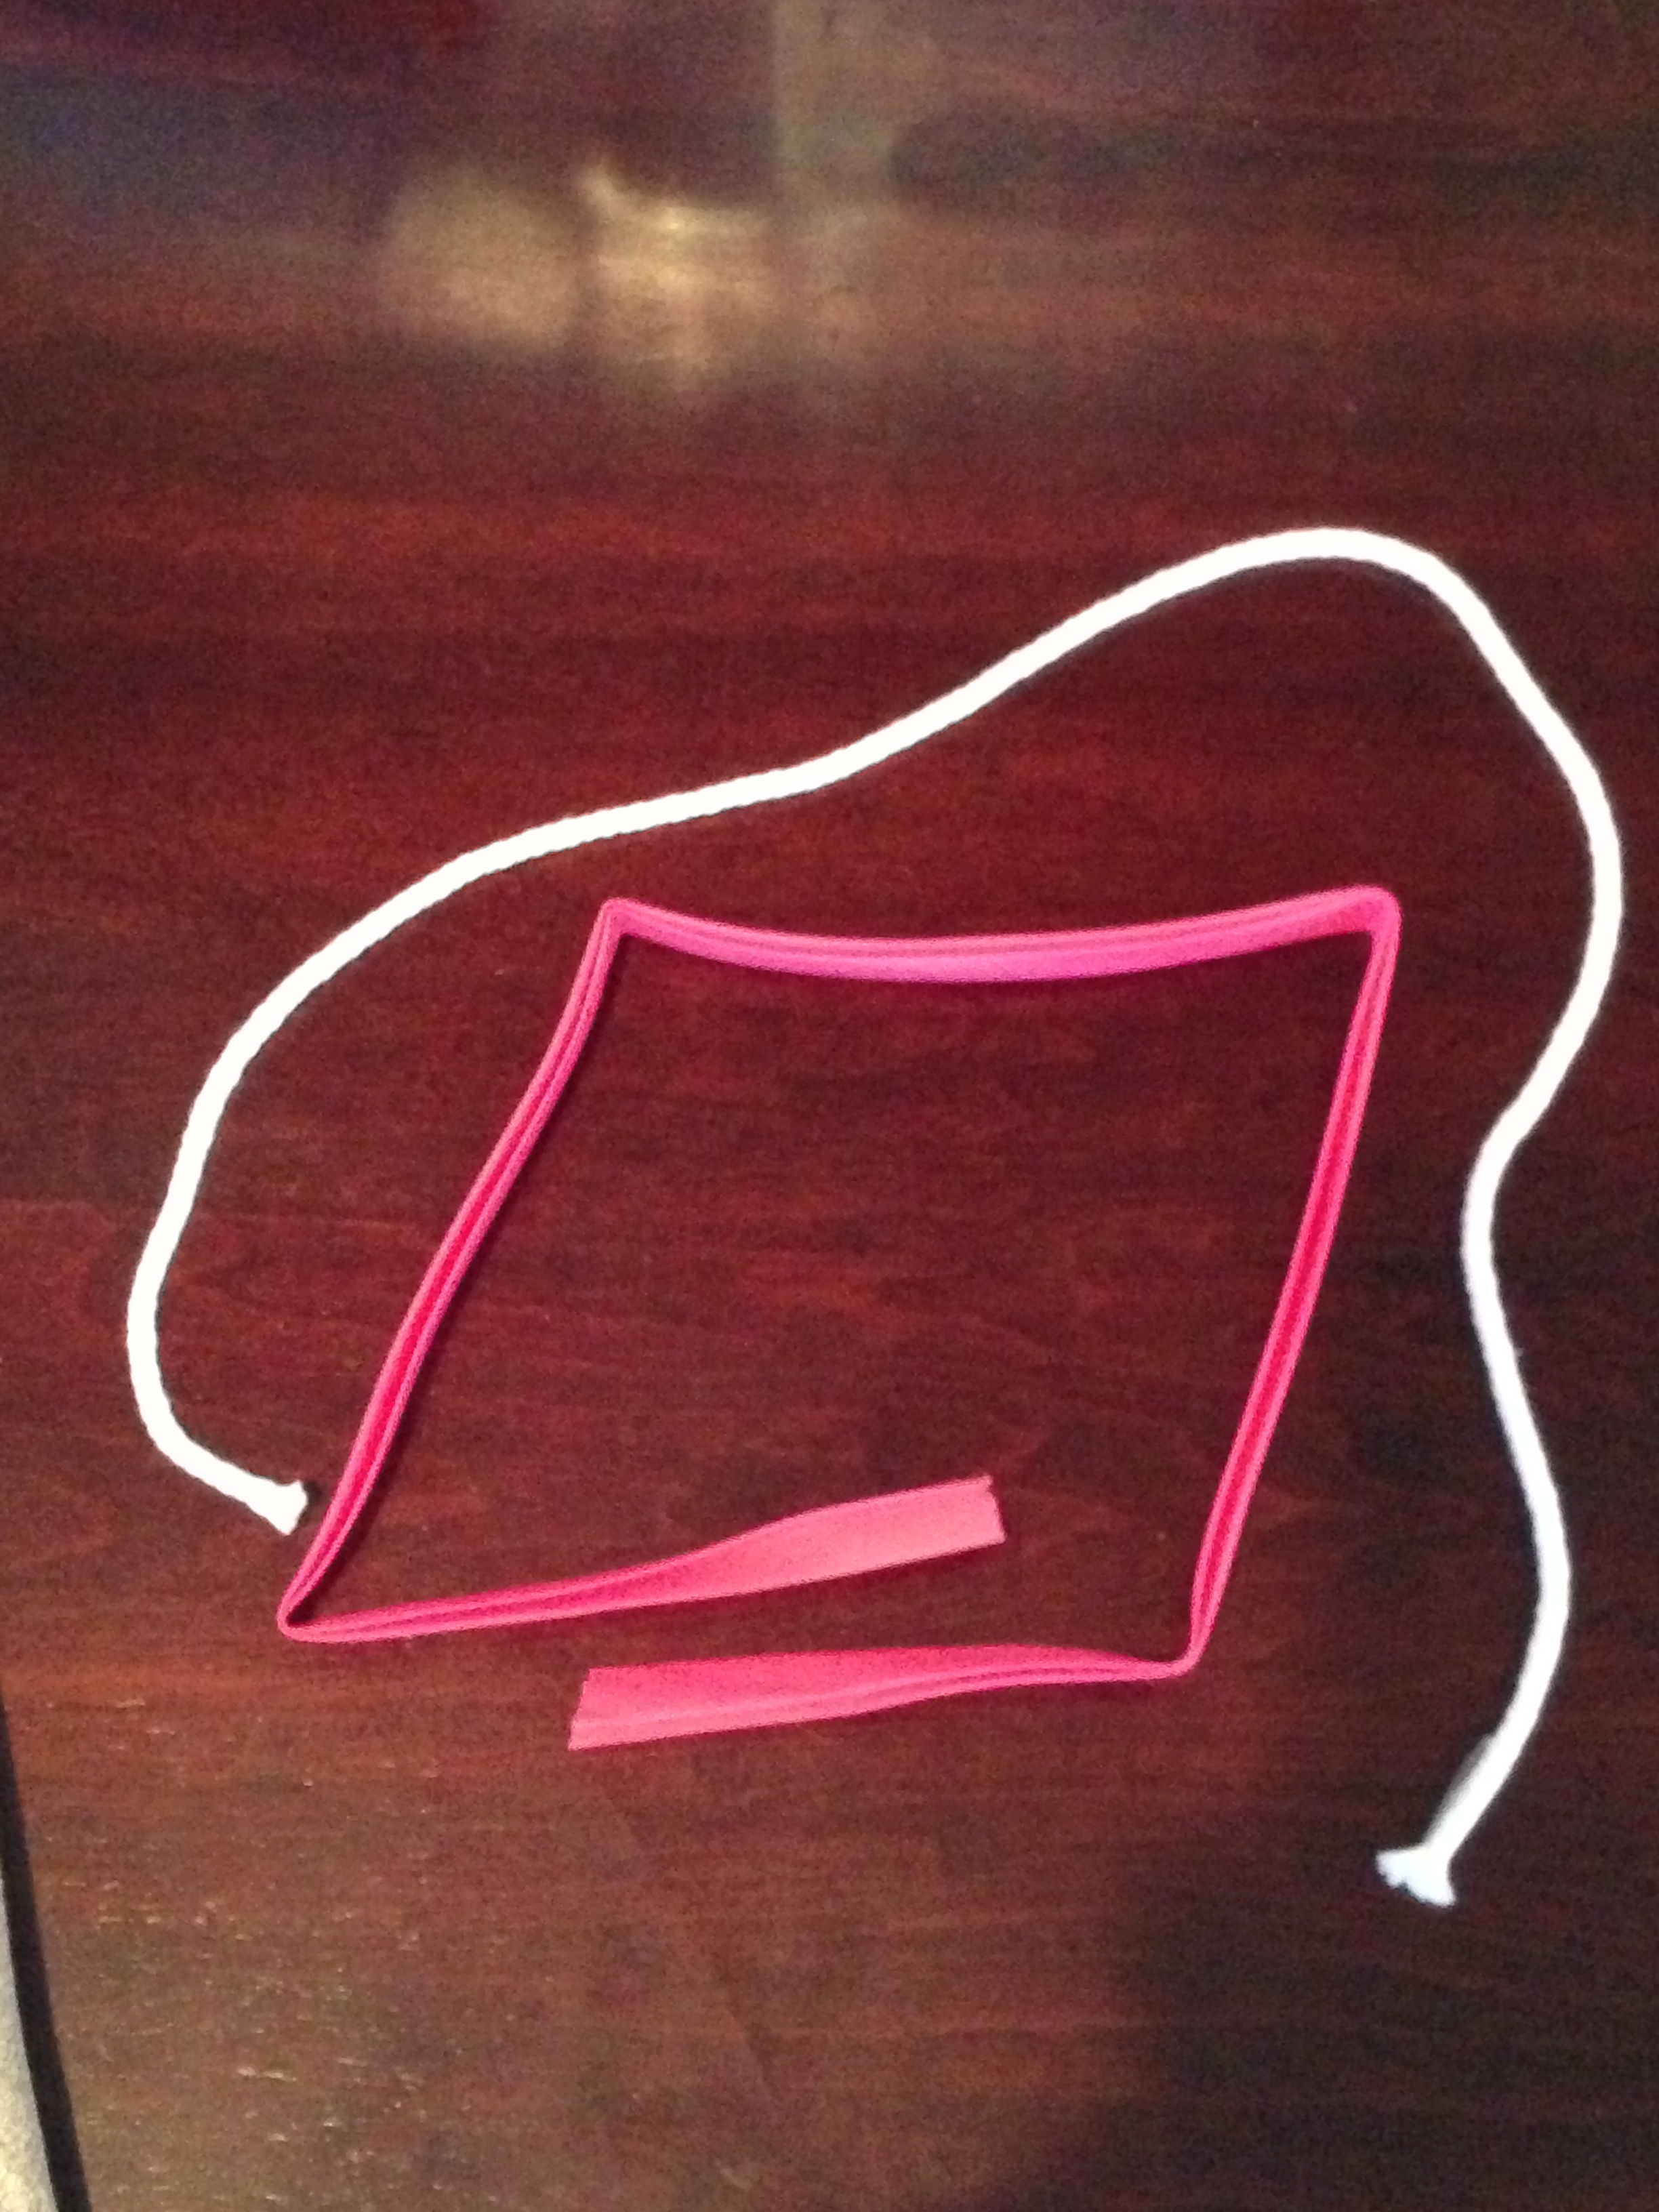
Put the cord inside the bias tape as shown and pin it.

Use a zipper foot to stitch very close to the cord as shown.

Now piping is done.
Align the raw edge of the outer fabric right side with the raw edge of the piping and pin them together.
Note: This is the side of the pencil pouch. So if you want to place your fabric in a particular way, this is the time to decide that.
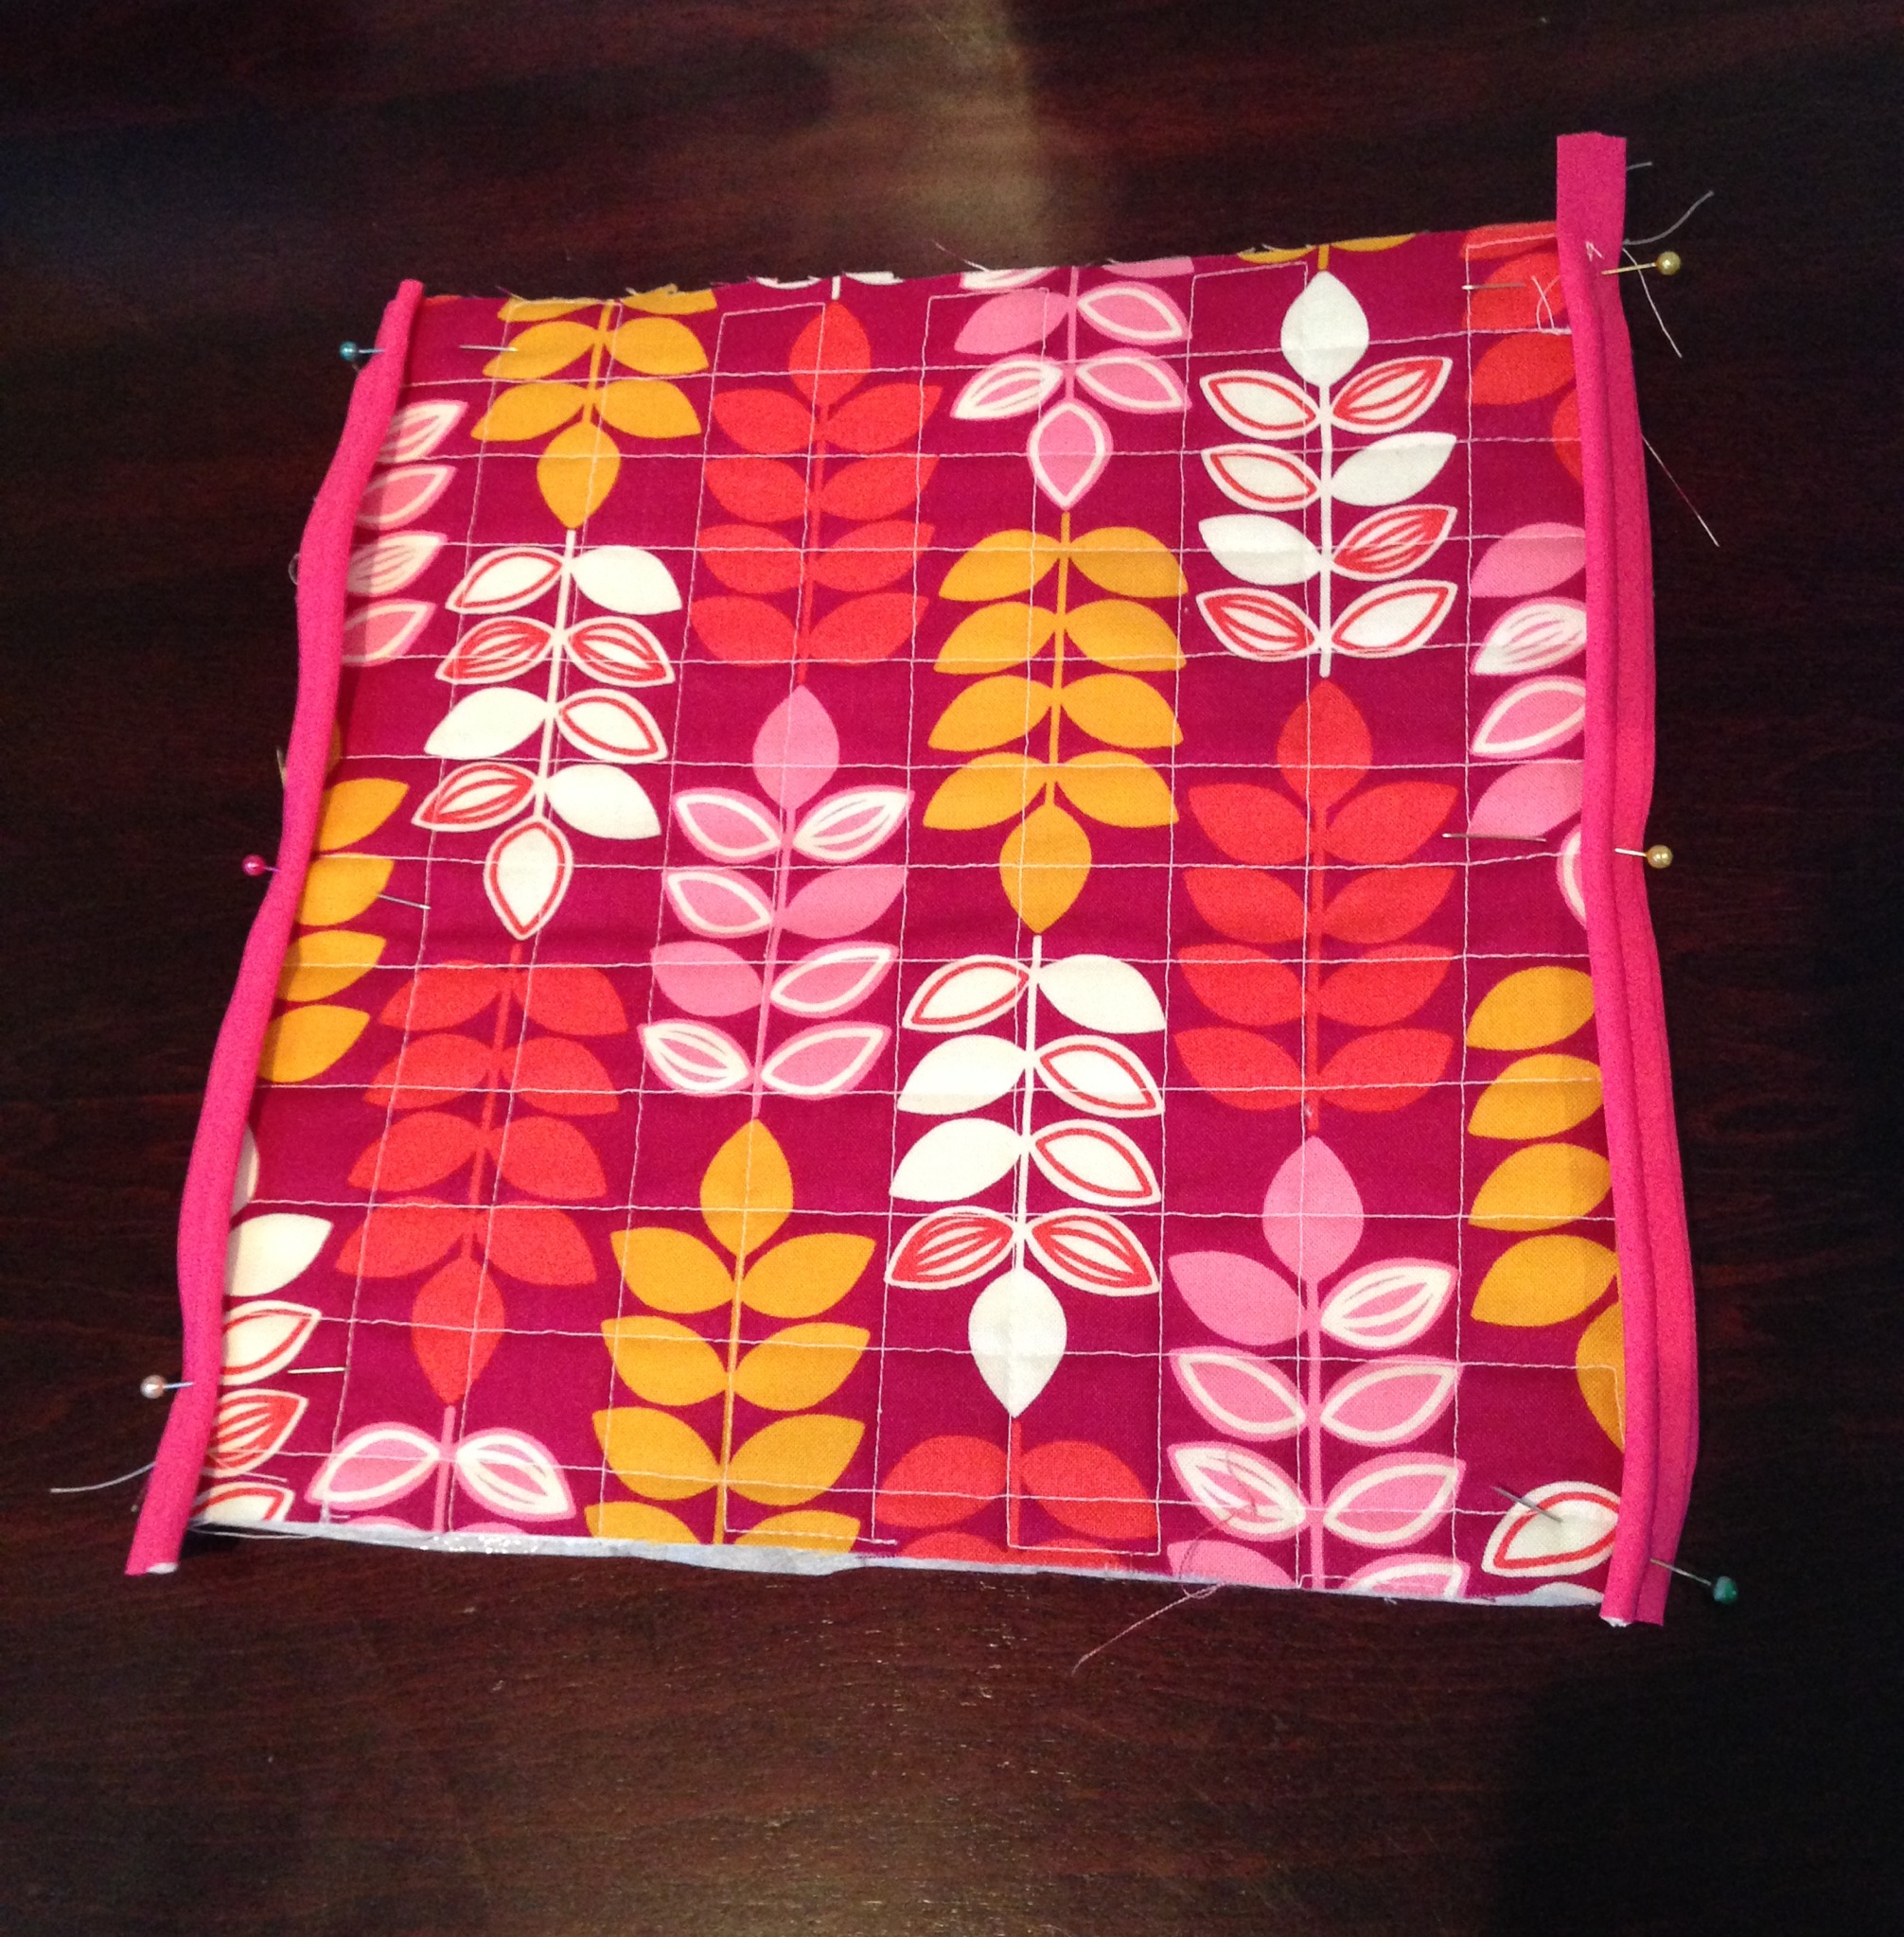
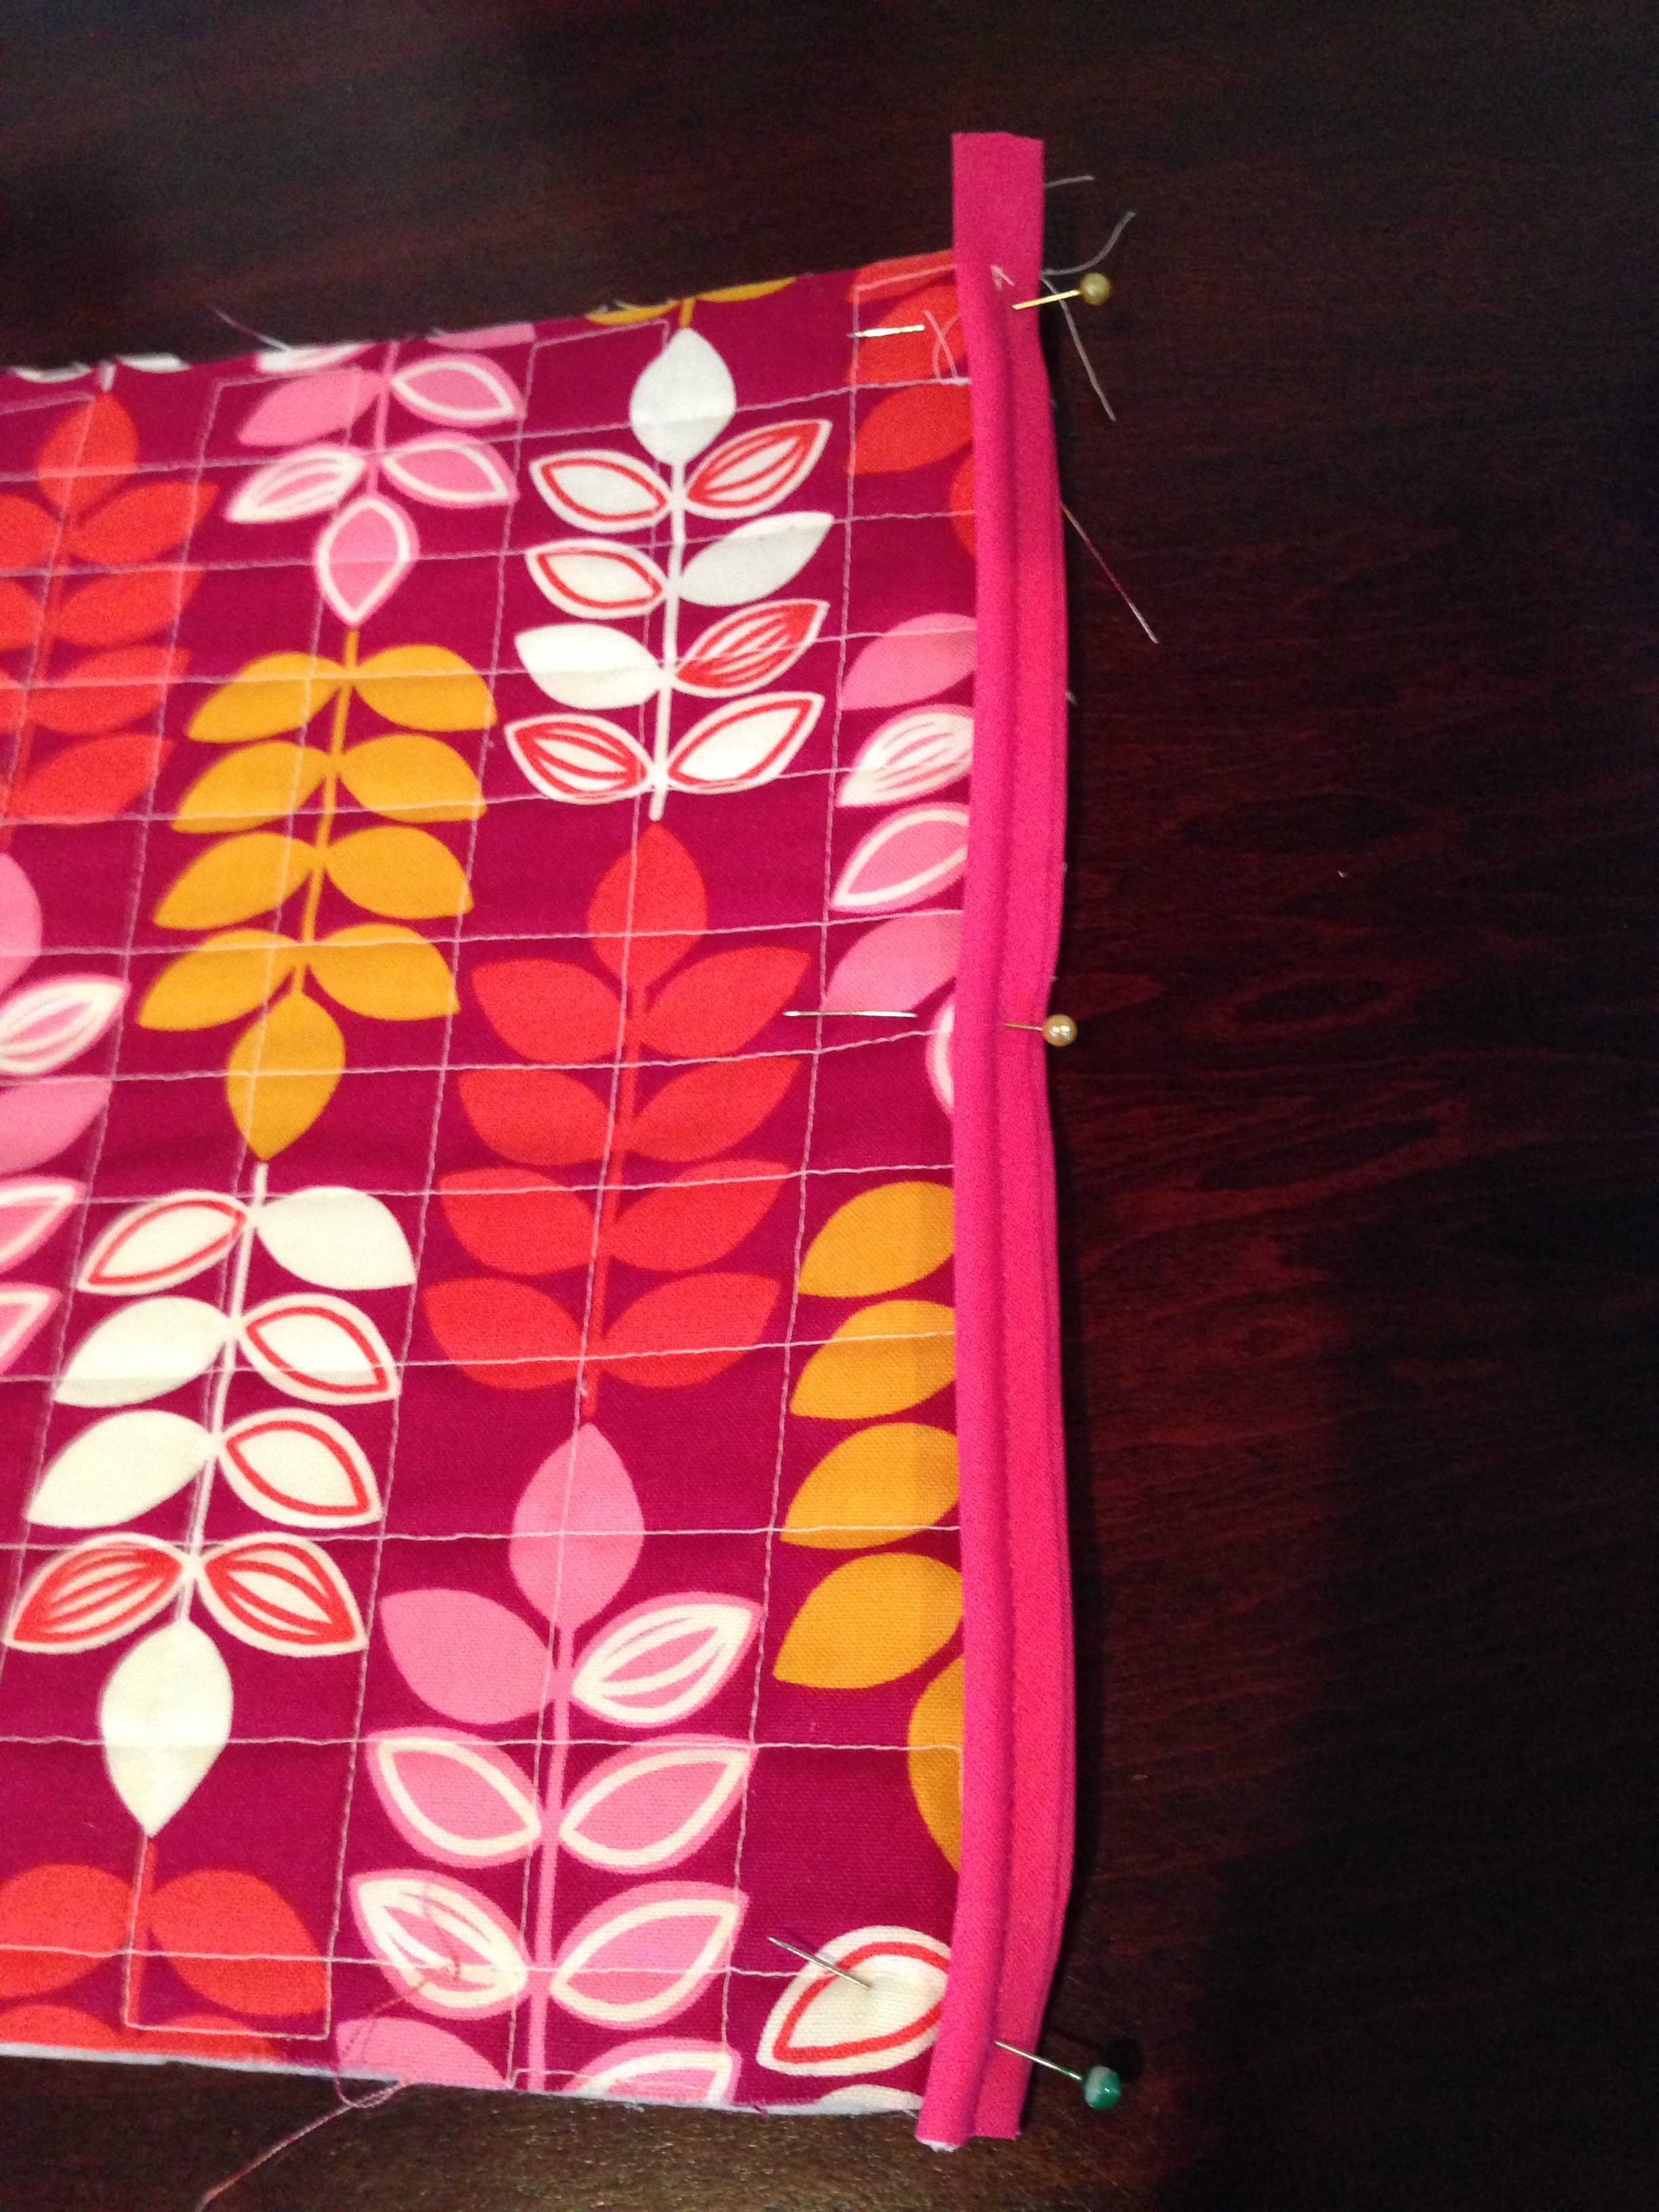
Again using a zipper foot stitch along the piping.
Now put the lining and outer fabric right side together to be ready for zipper insertion.
Note: The marking on the lining with respect to the piping position needs to be perpendicular to each other.

Step 6: Zipper Insertion
Place the quilted outer fabric and lining fabric right right together and stitch along the marked lined rectangle. After that cut an incision right in the middle and clip the corners.

Then turn the fabric right side out by putting the lining through the incision. Press well to make a clean edge.

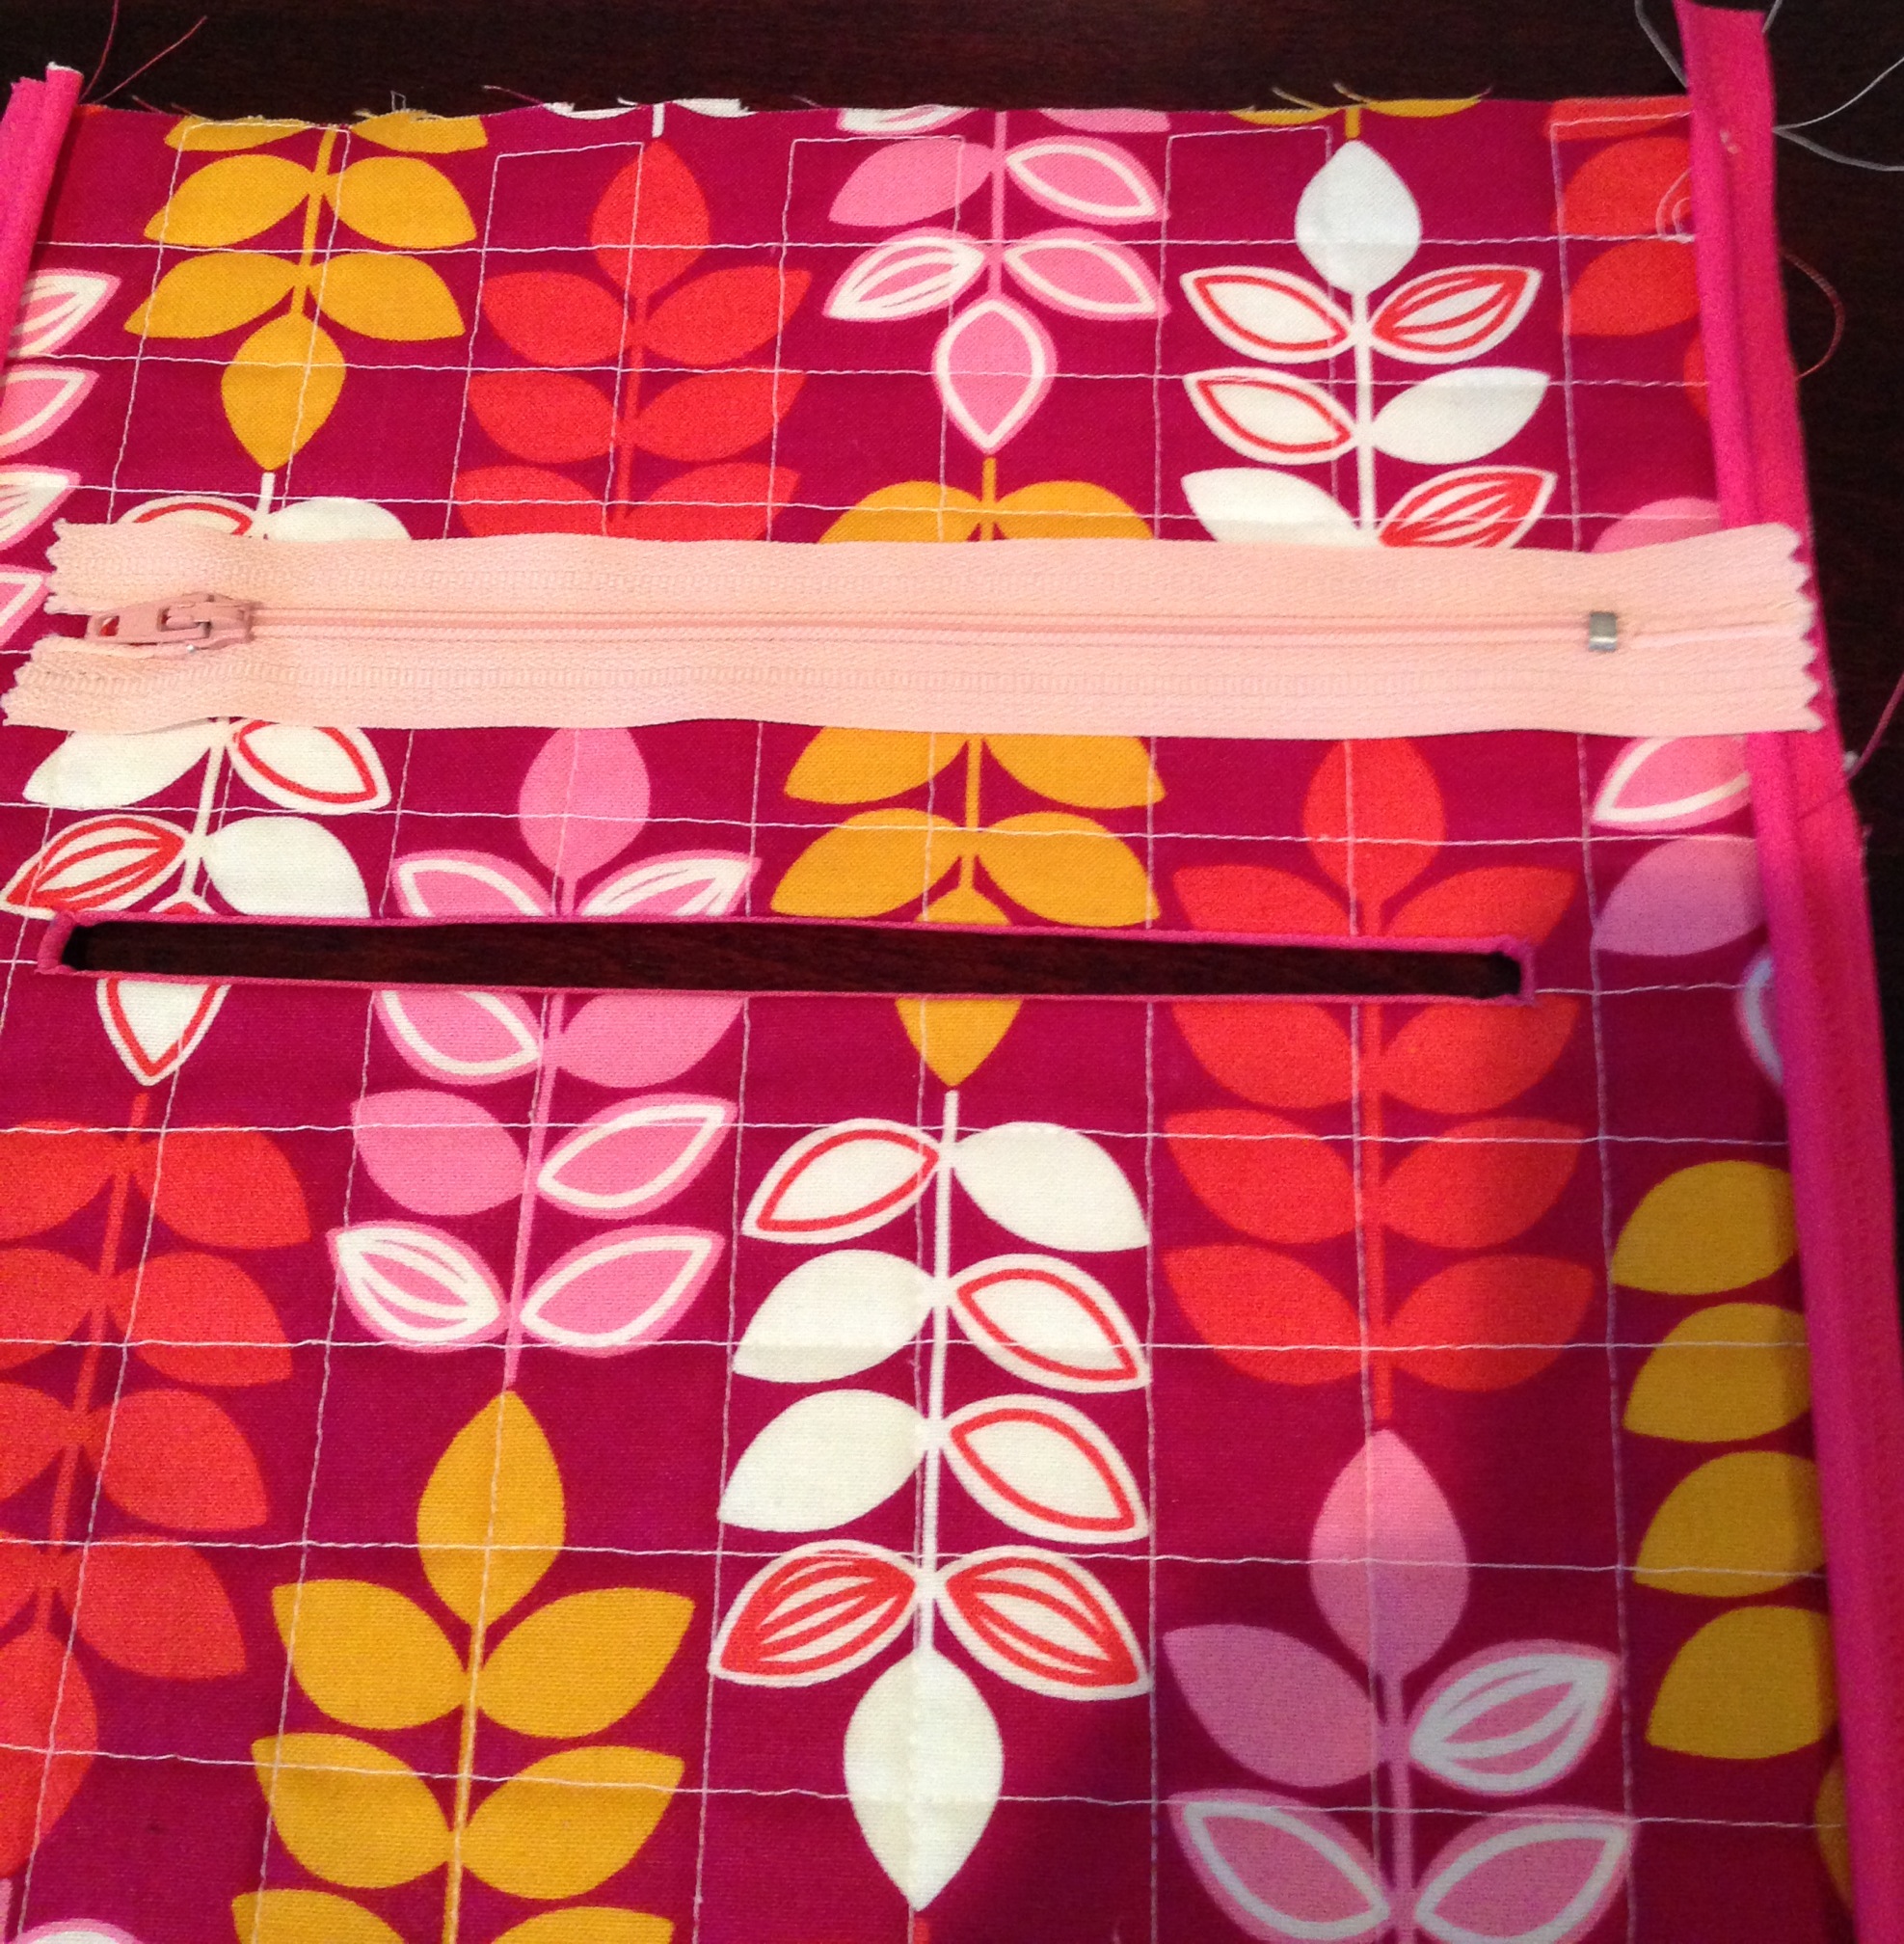
Now place the zipper right under the opening and pin it as shown.

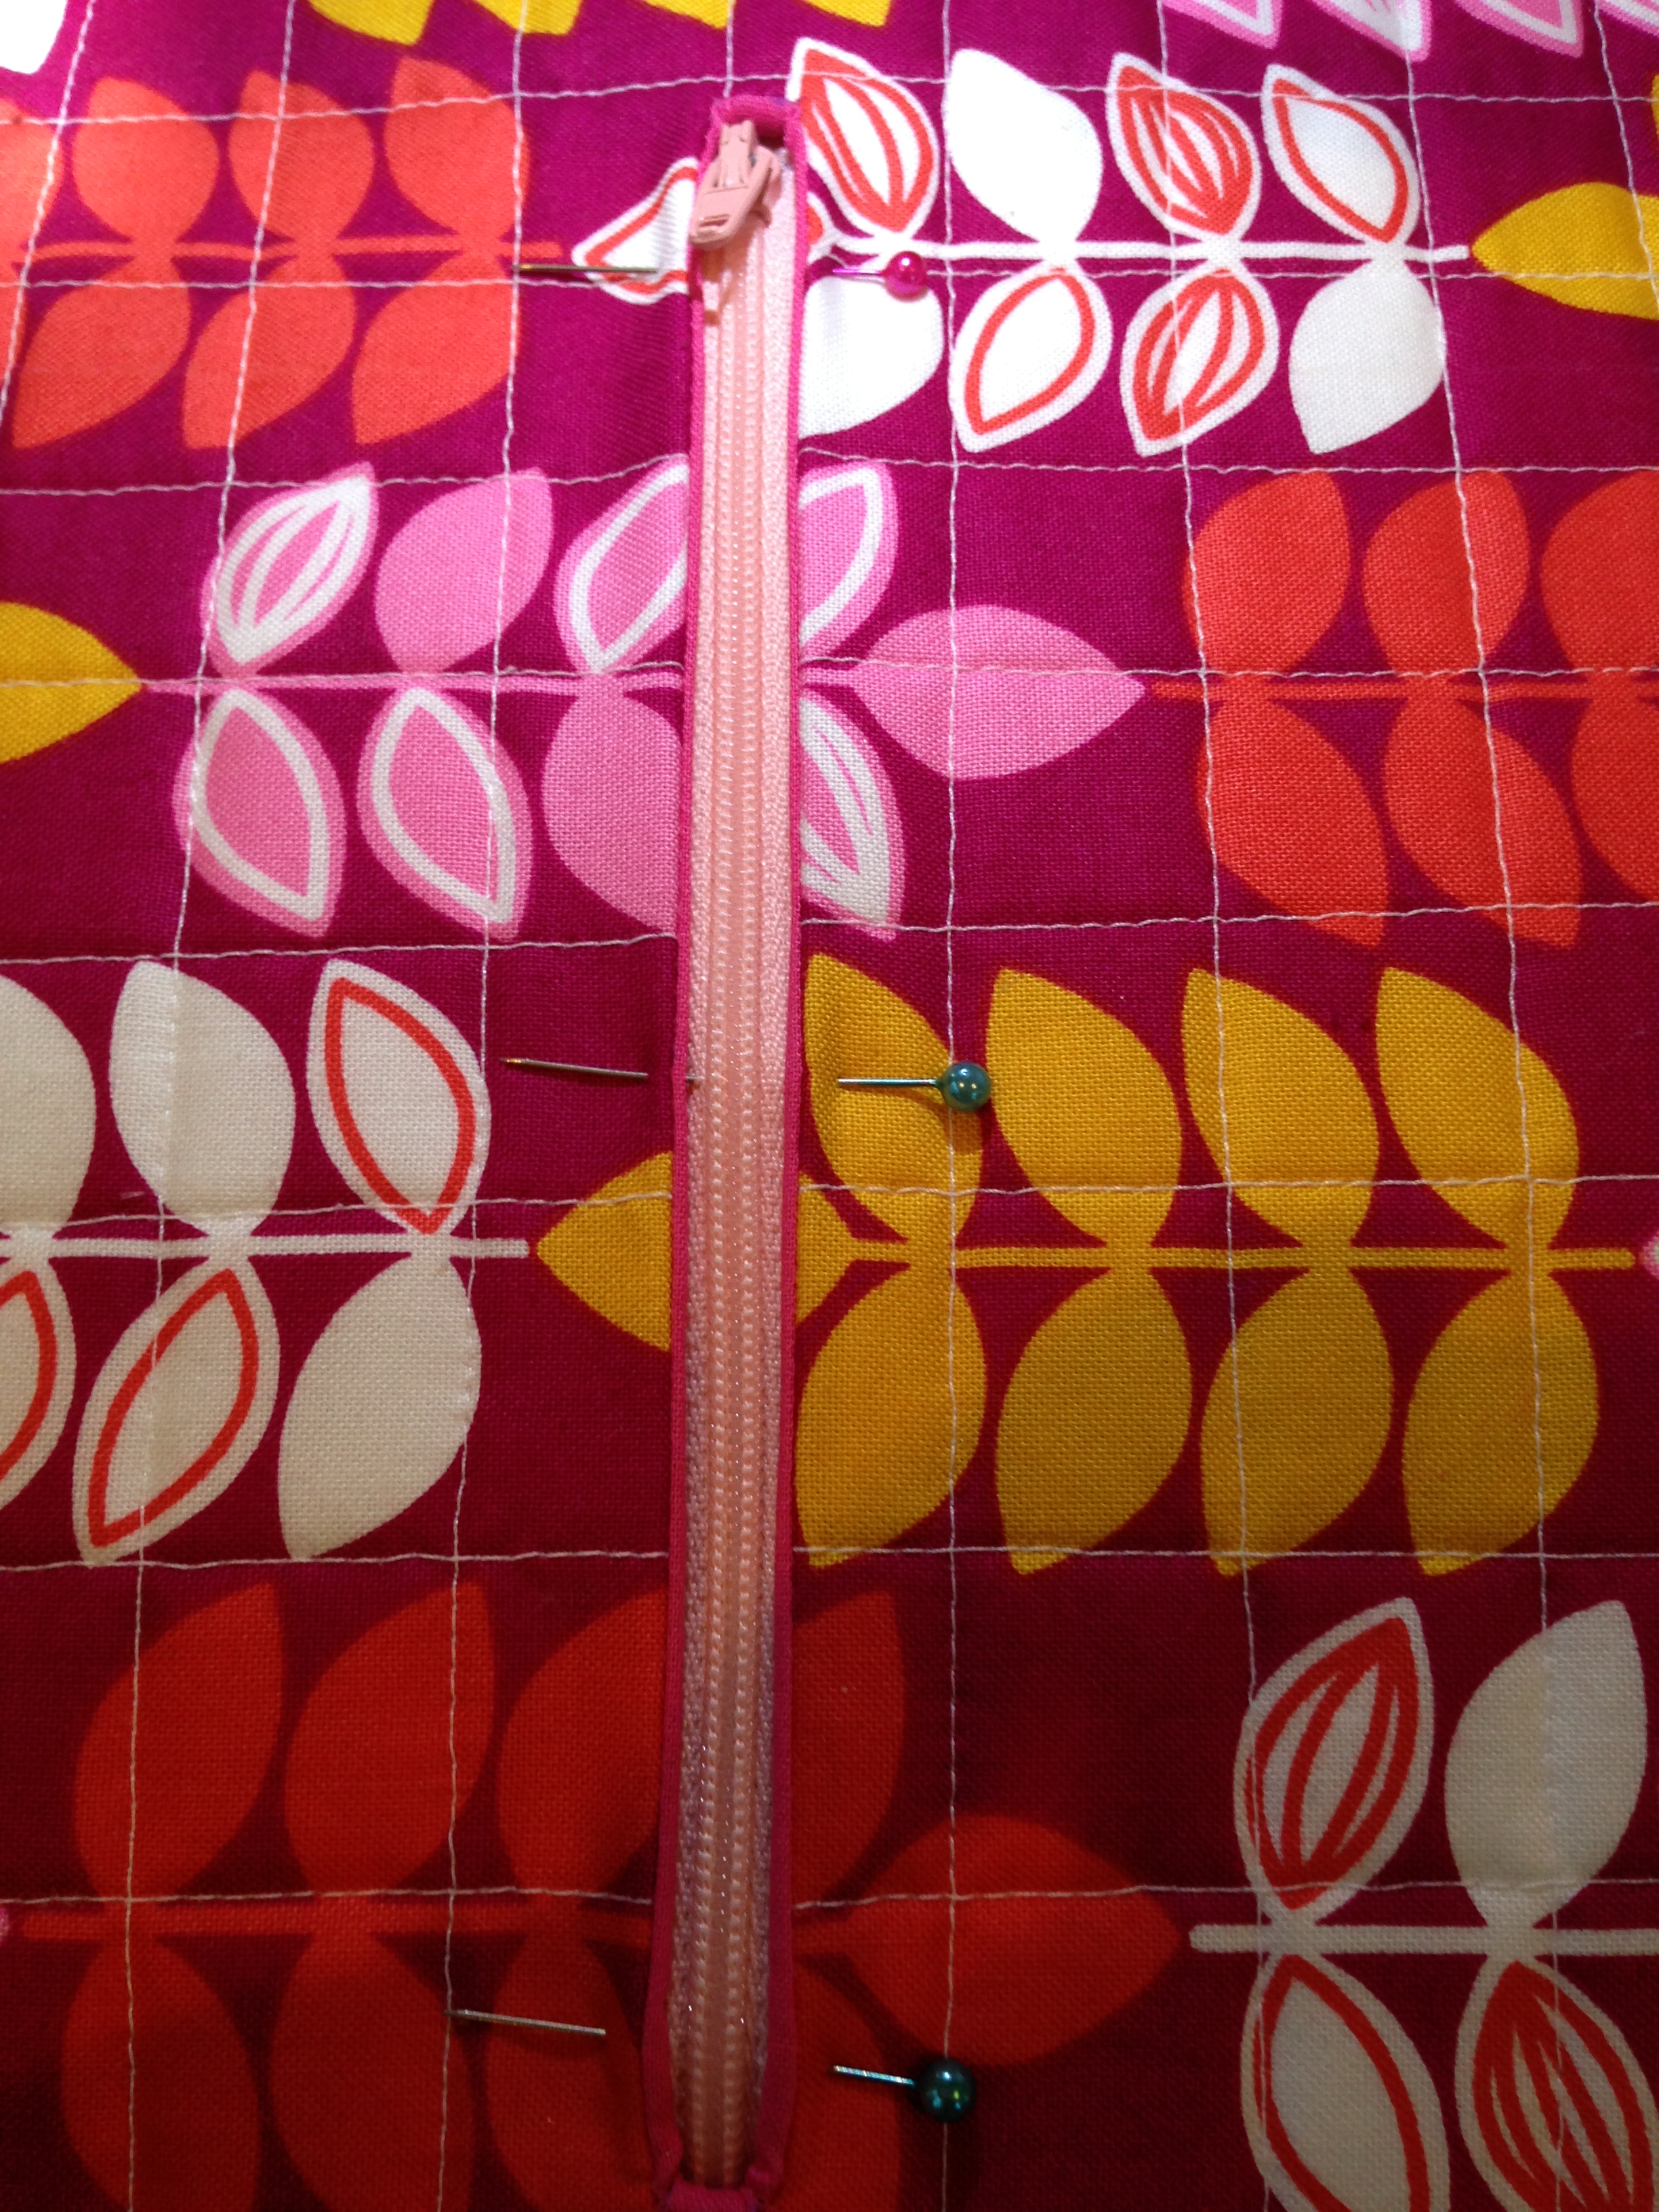
Now stitch through fabric and lining layer and zipper together as shown.

Now open the zipper at least half way through.

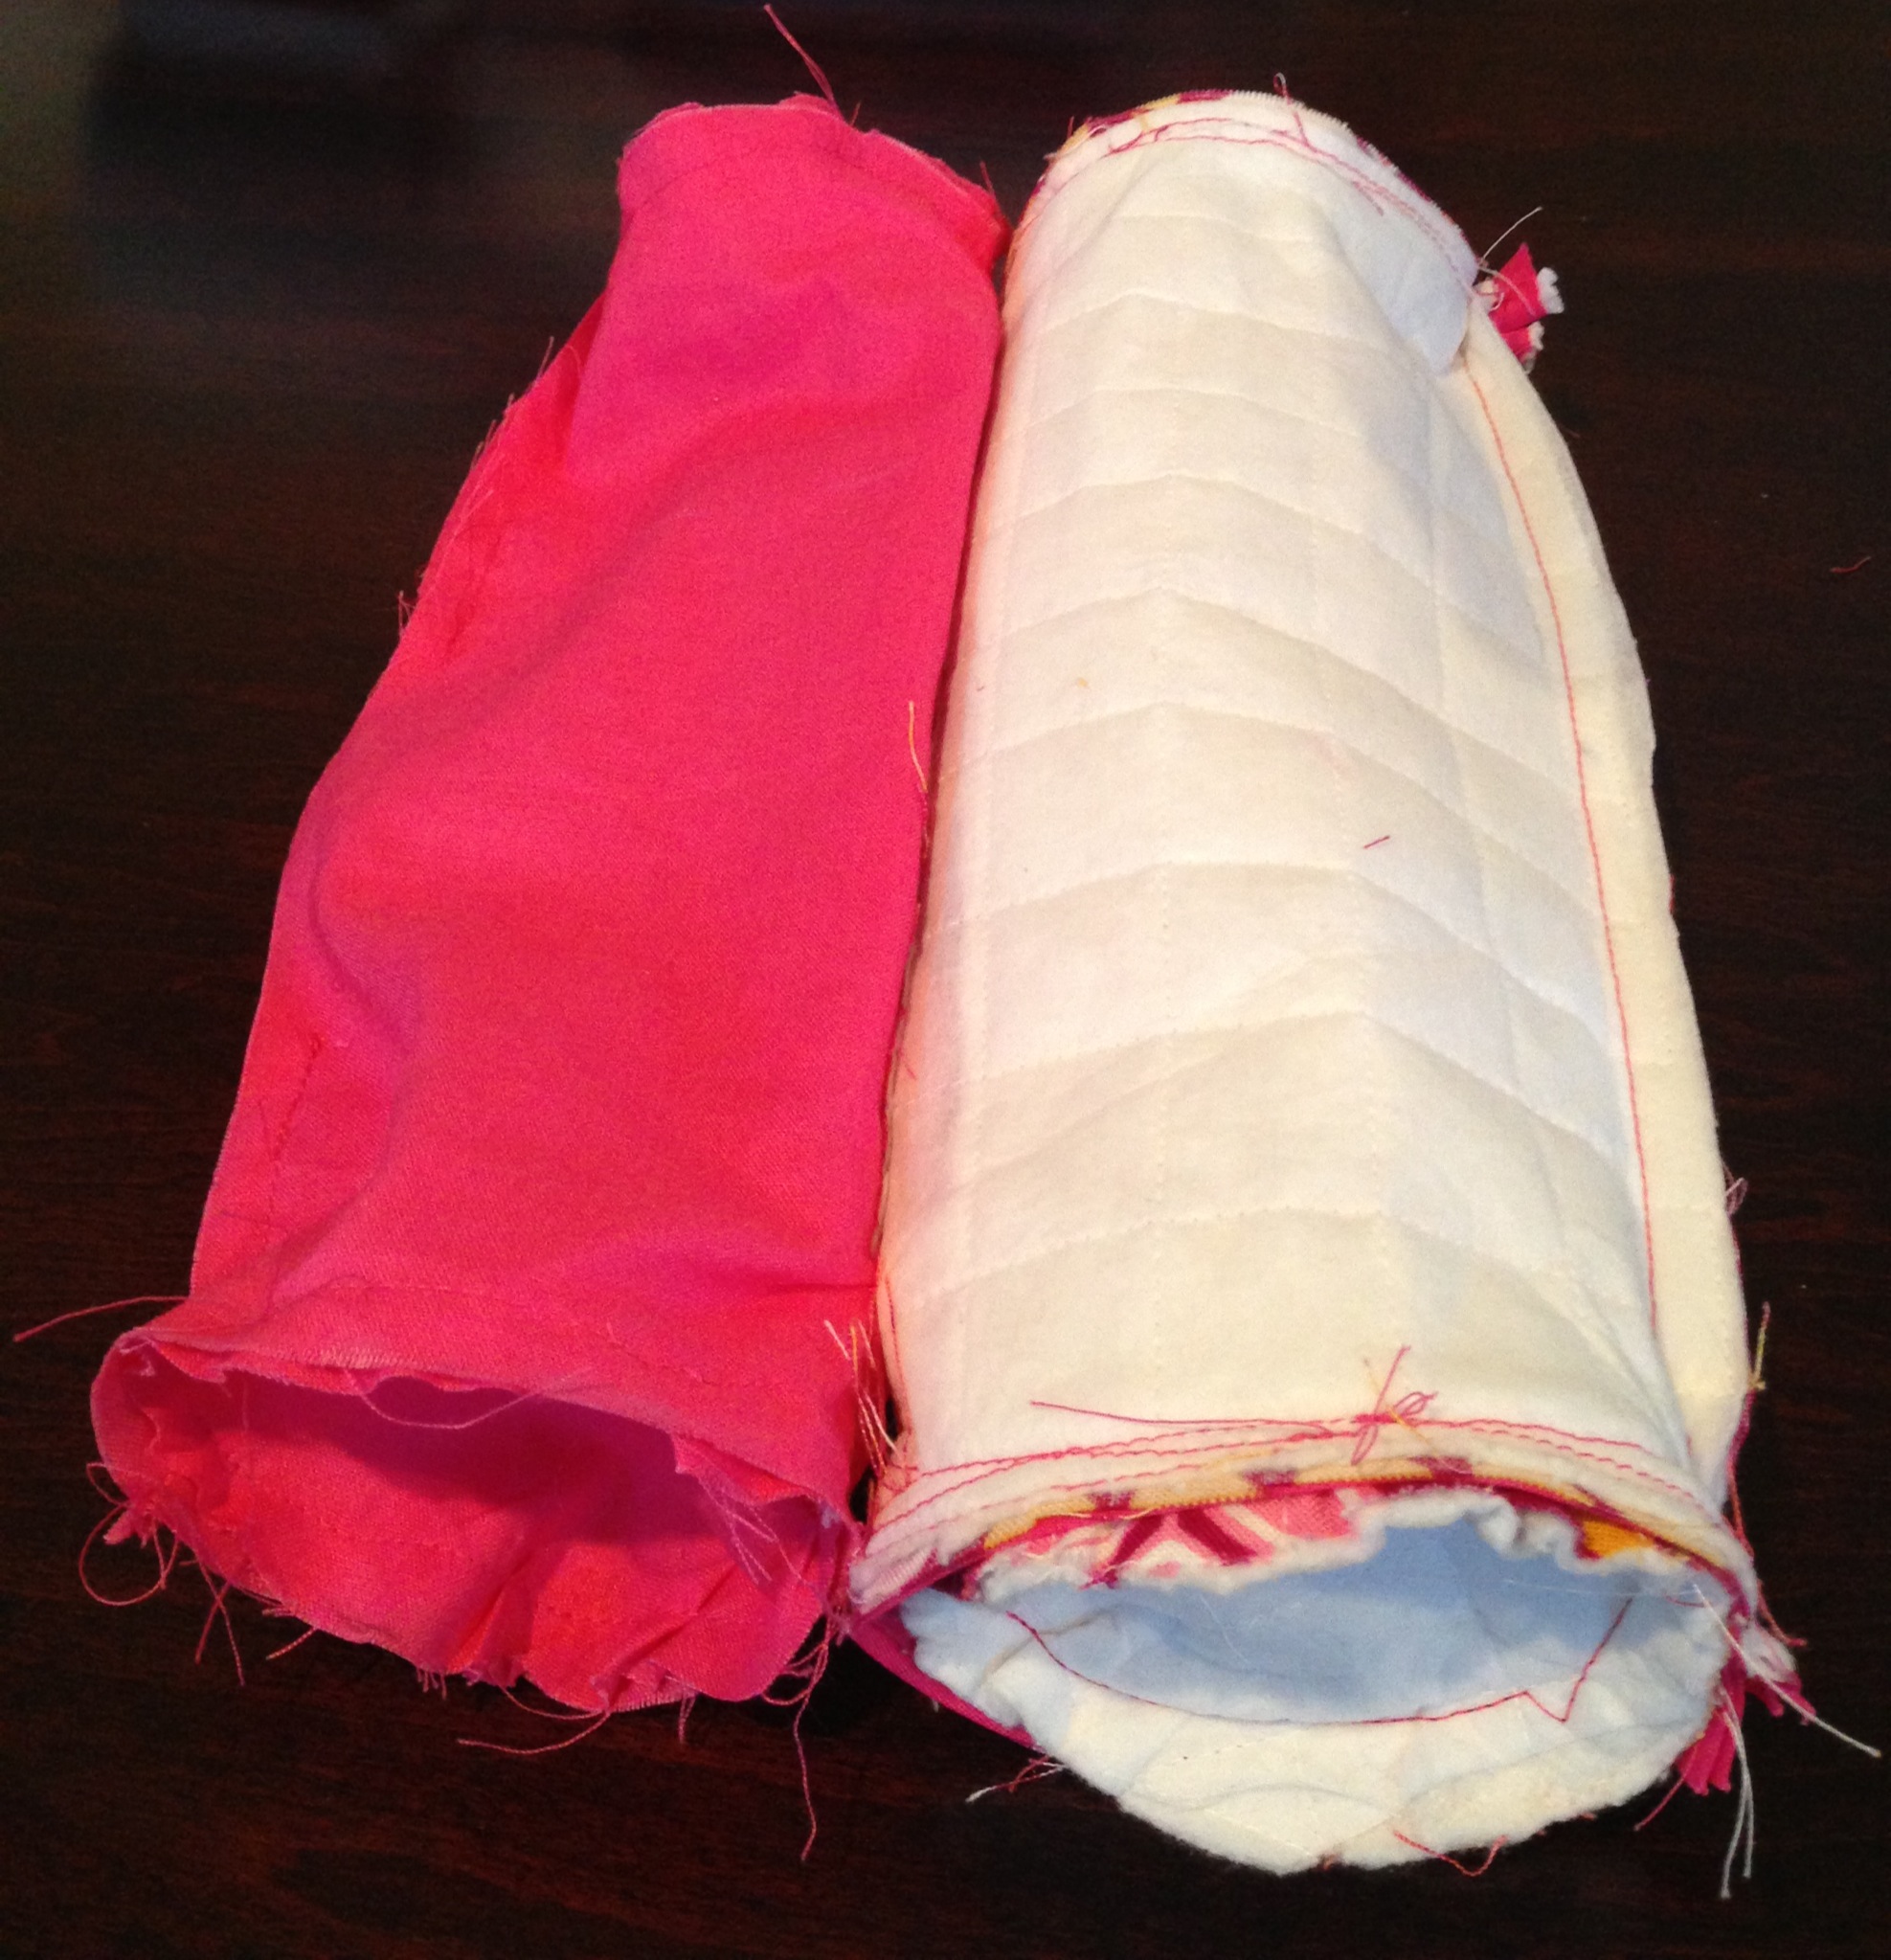
Step 7 : Making the body of the pencil pouch
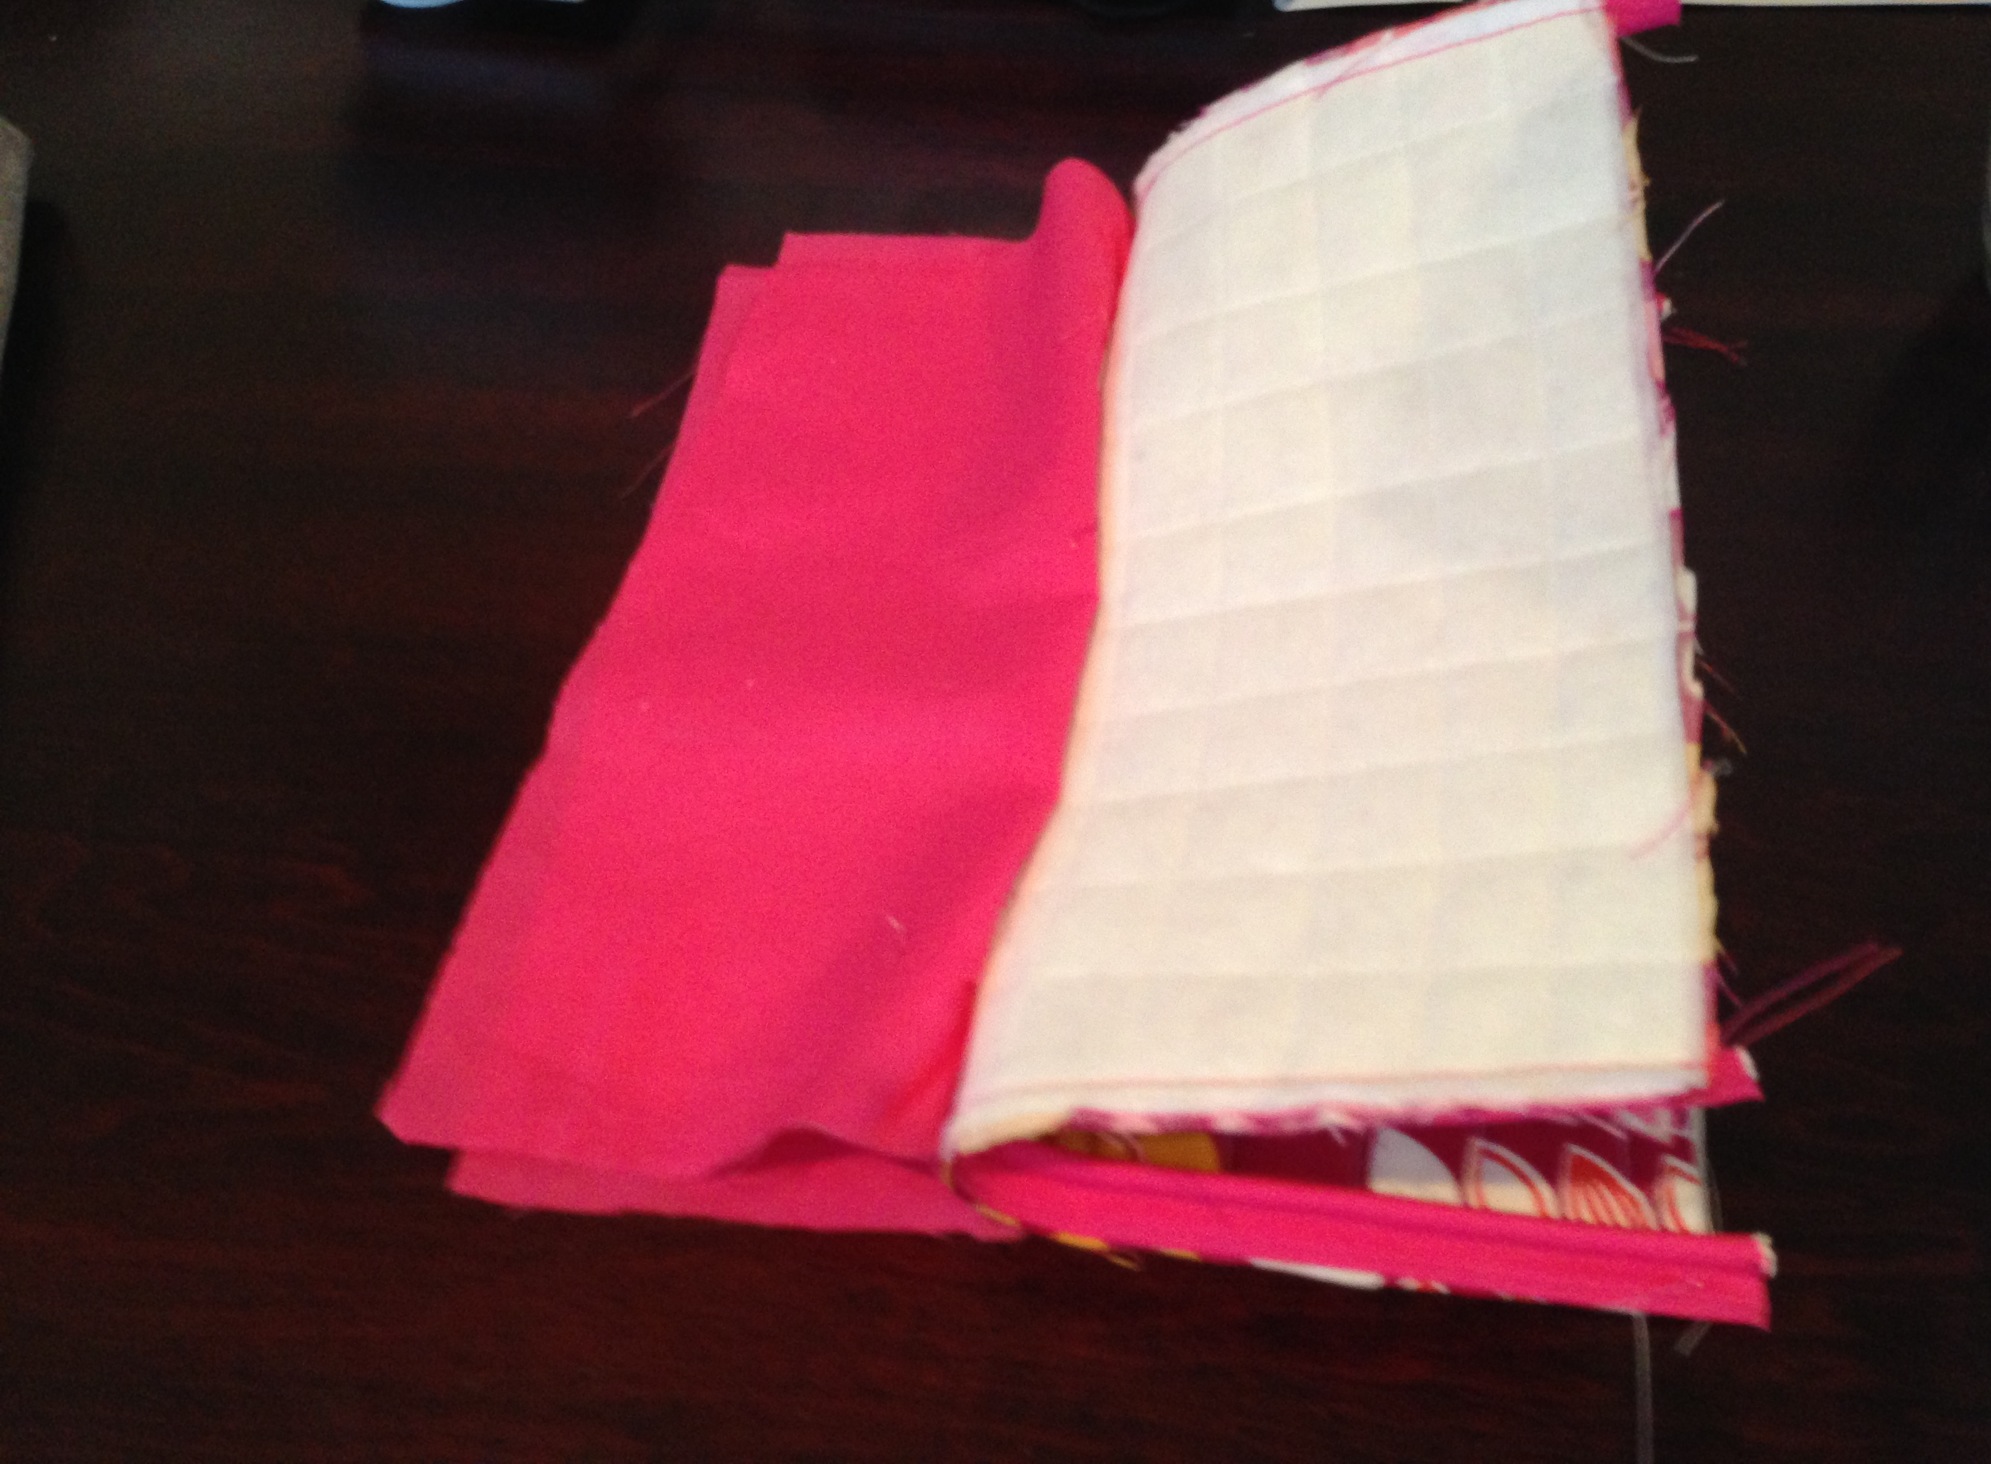
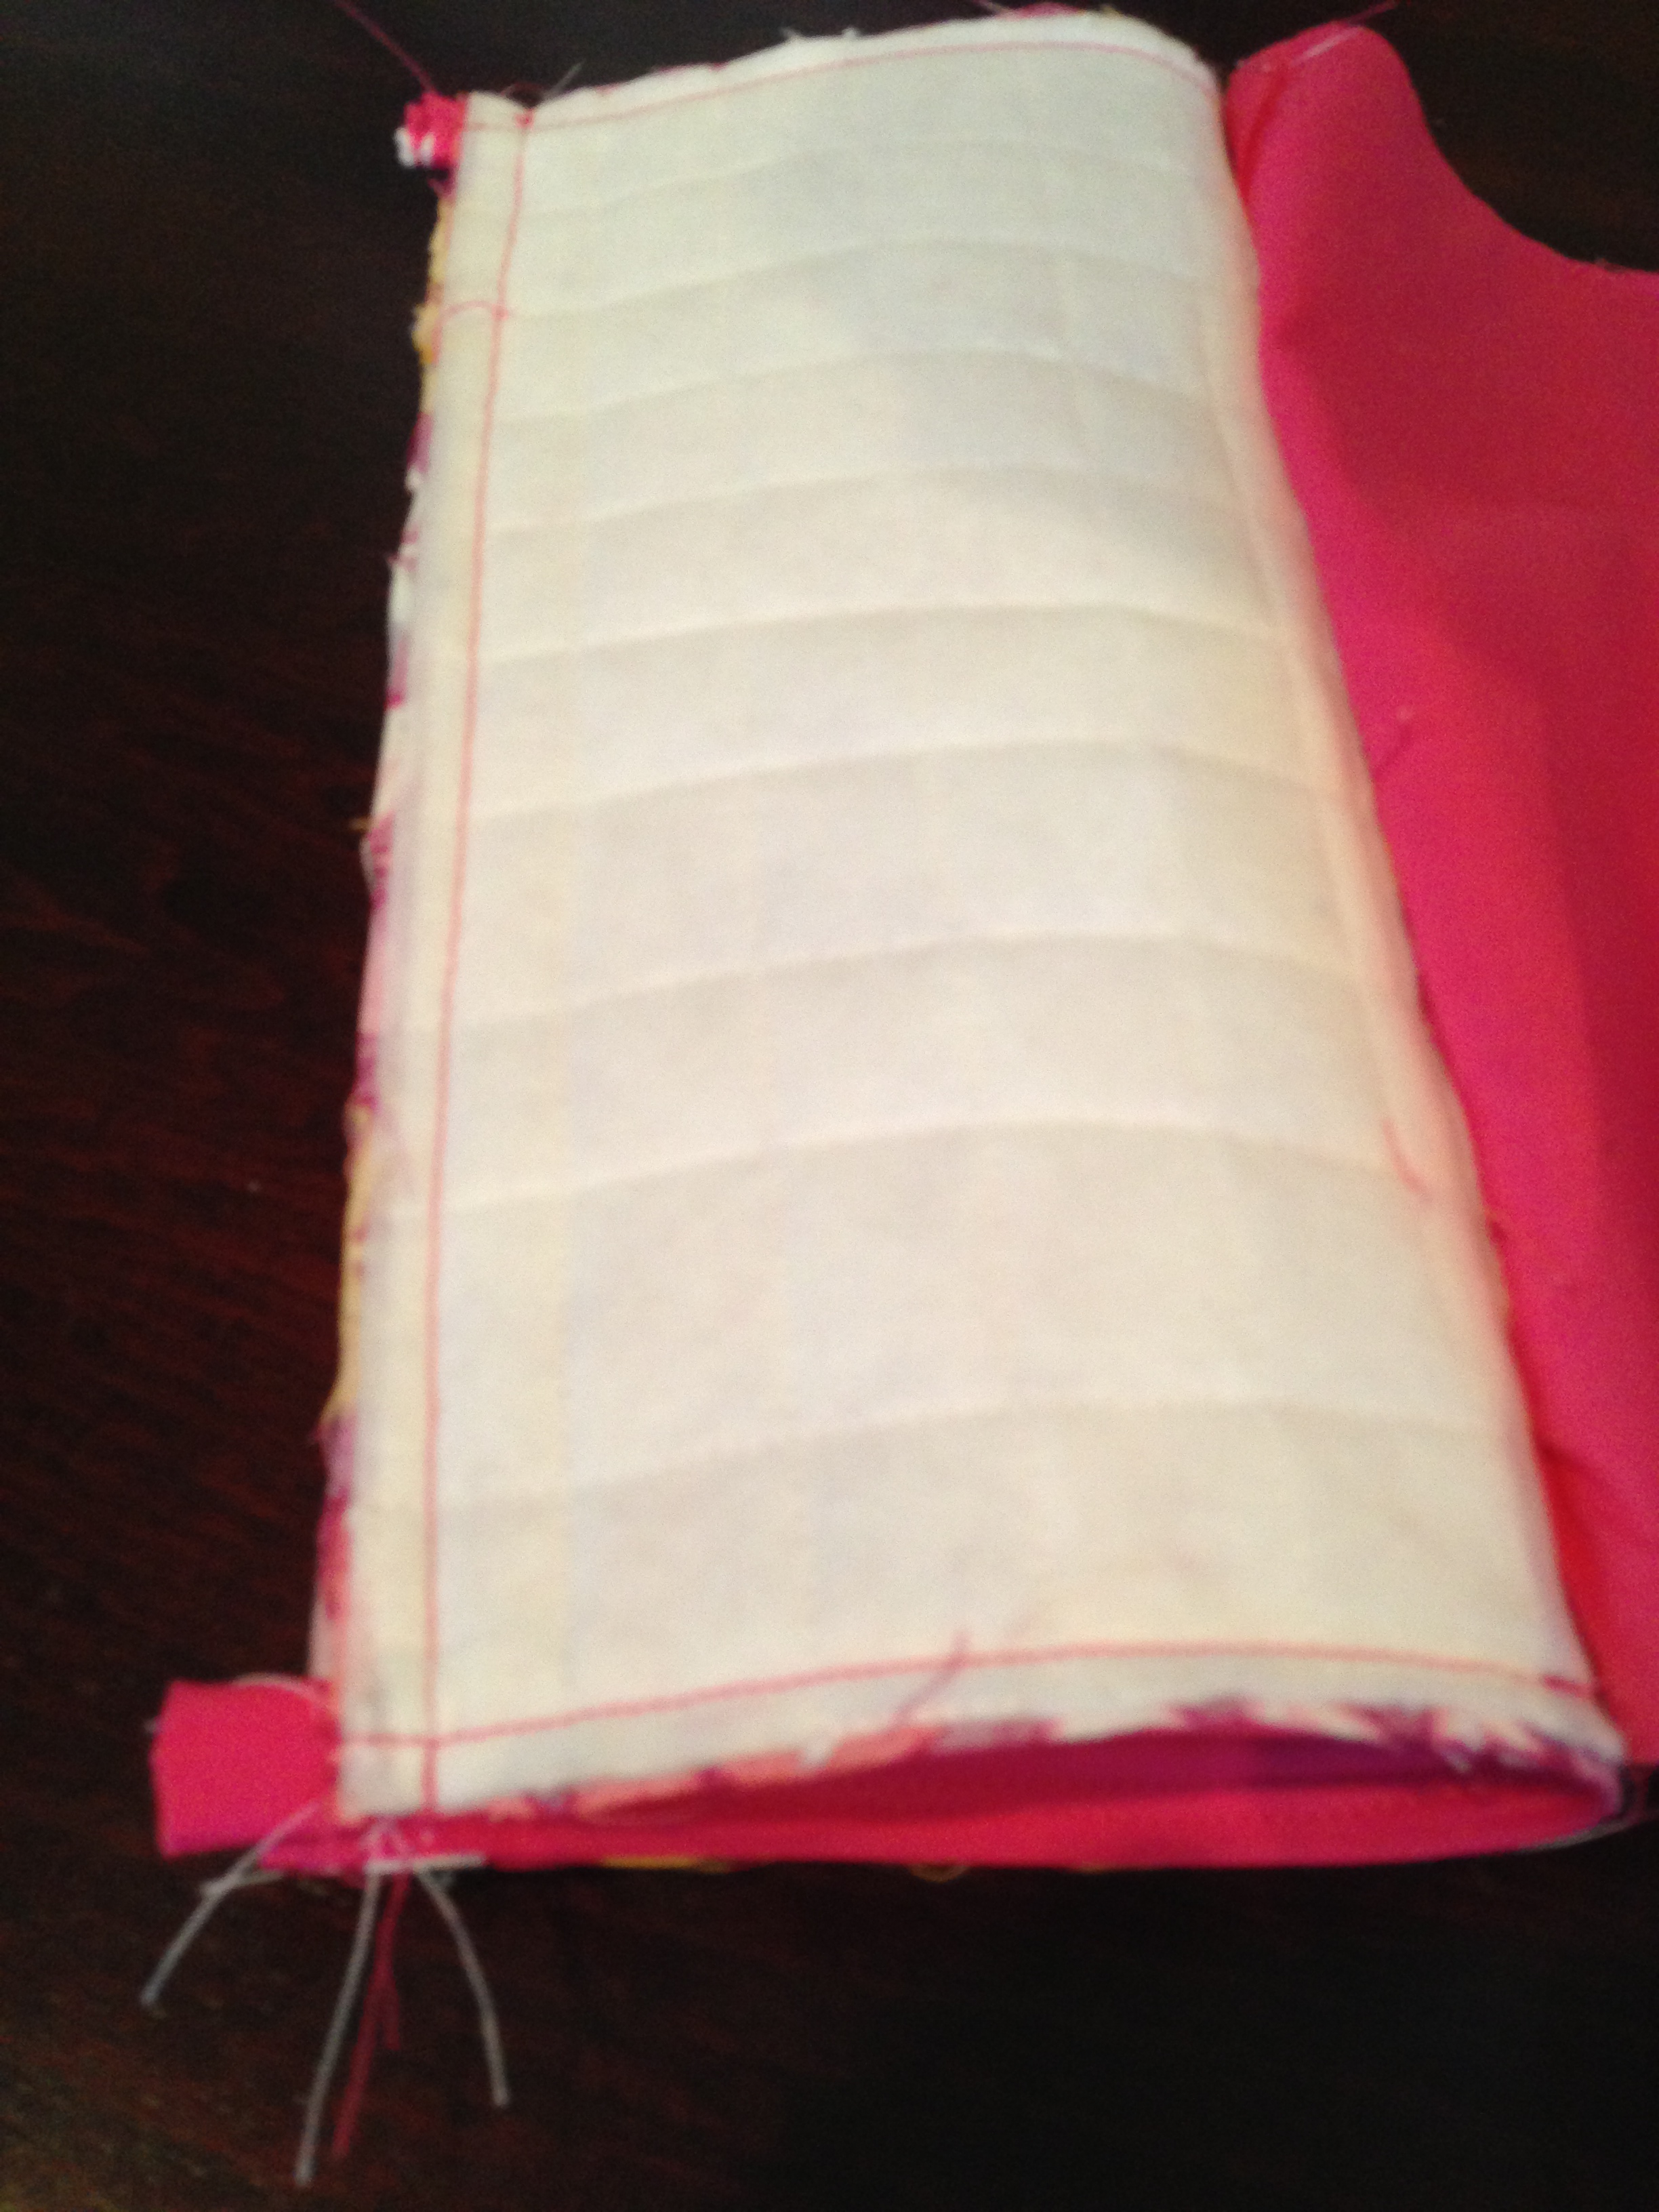
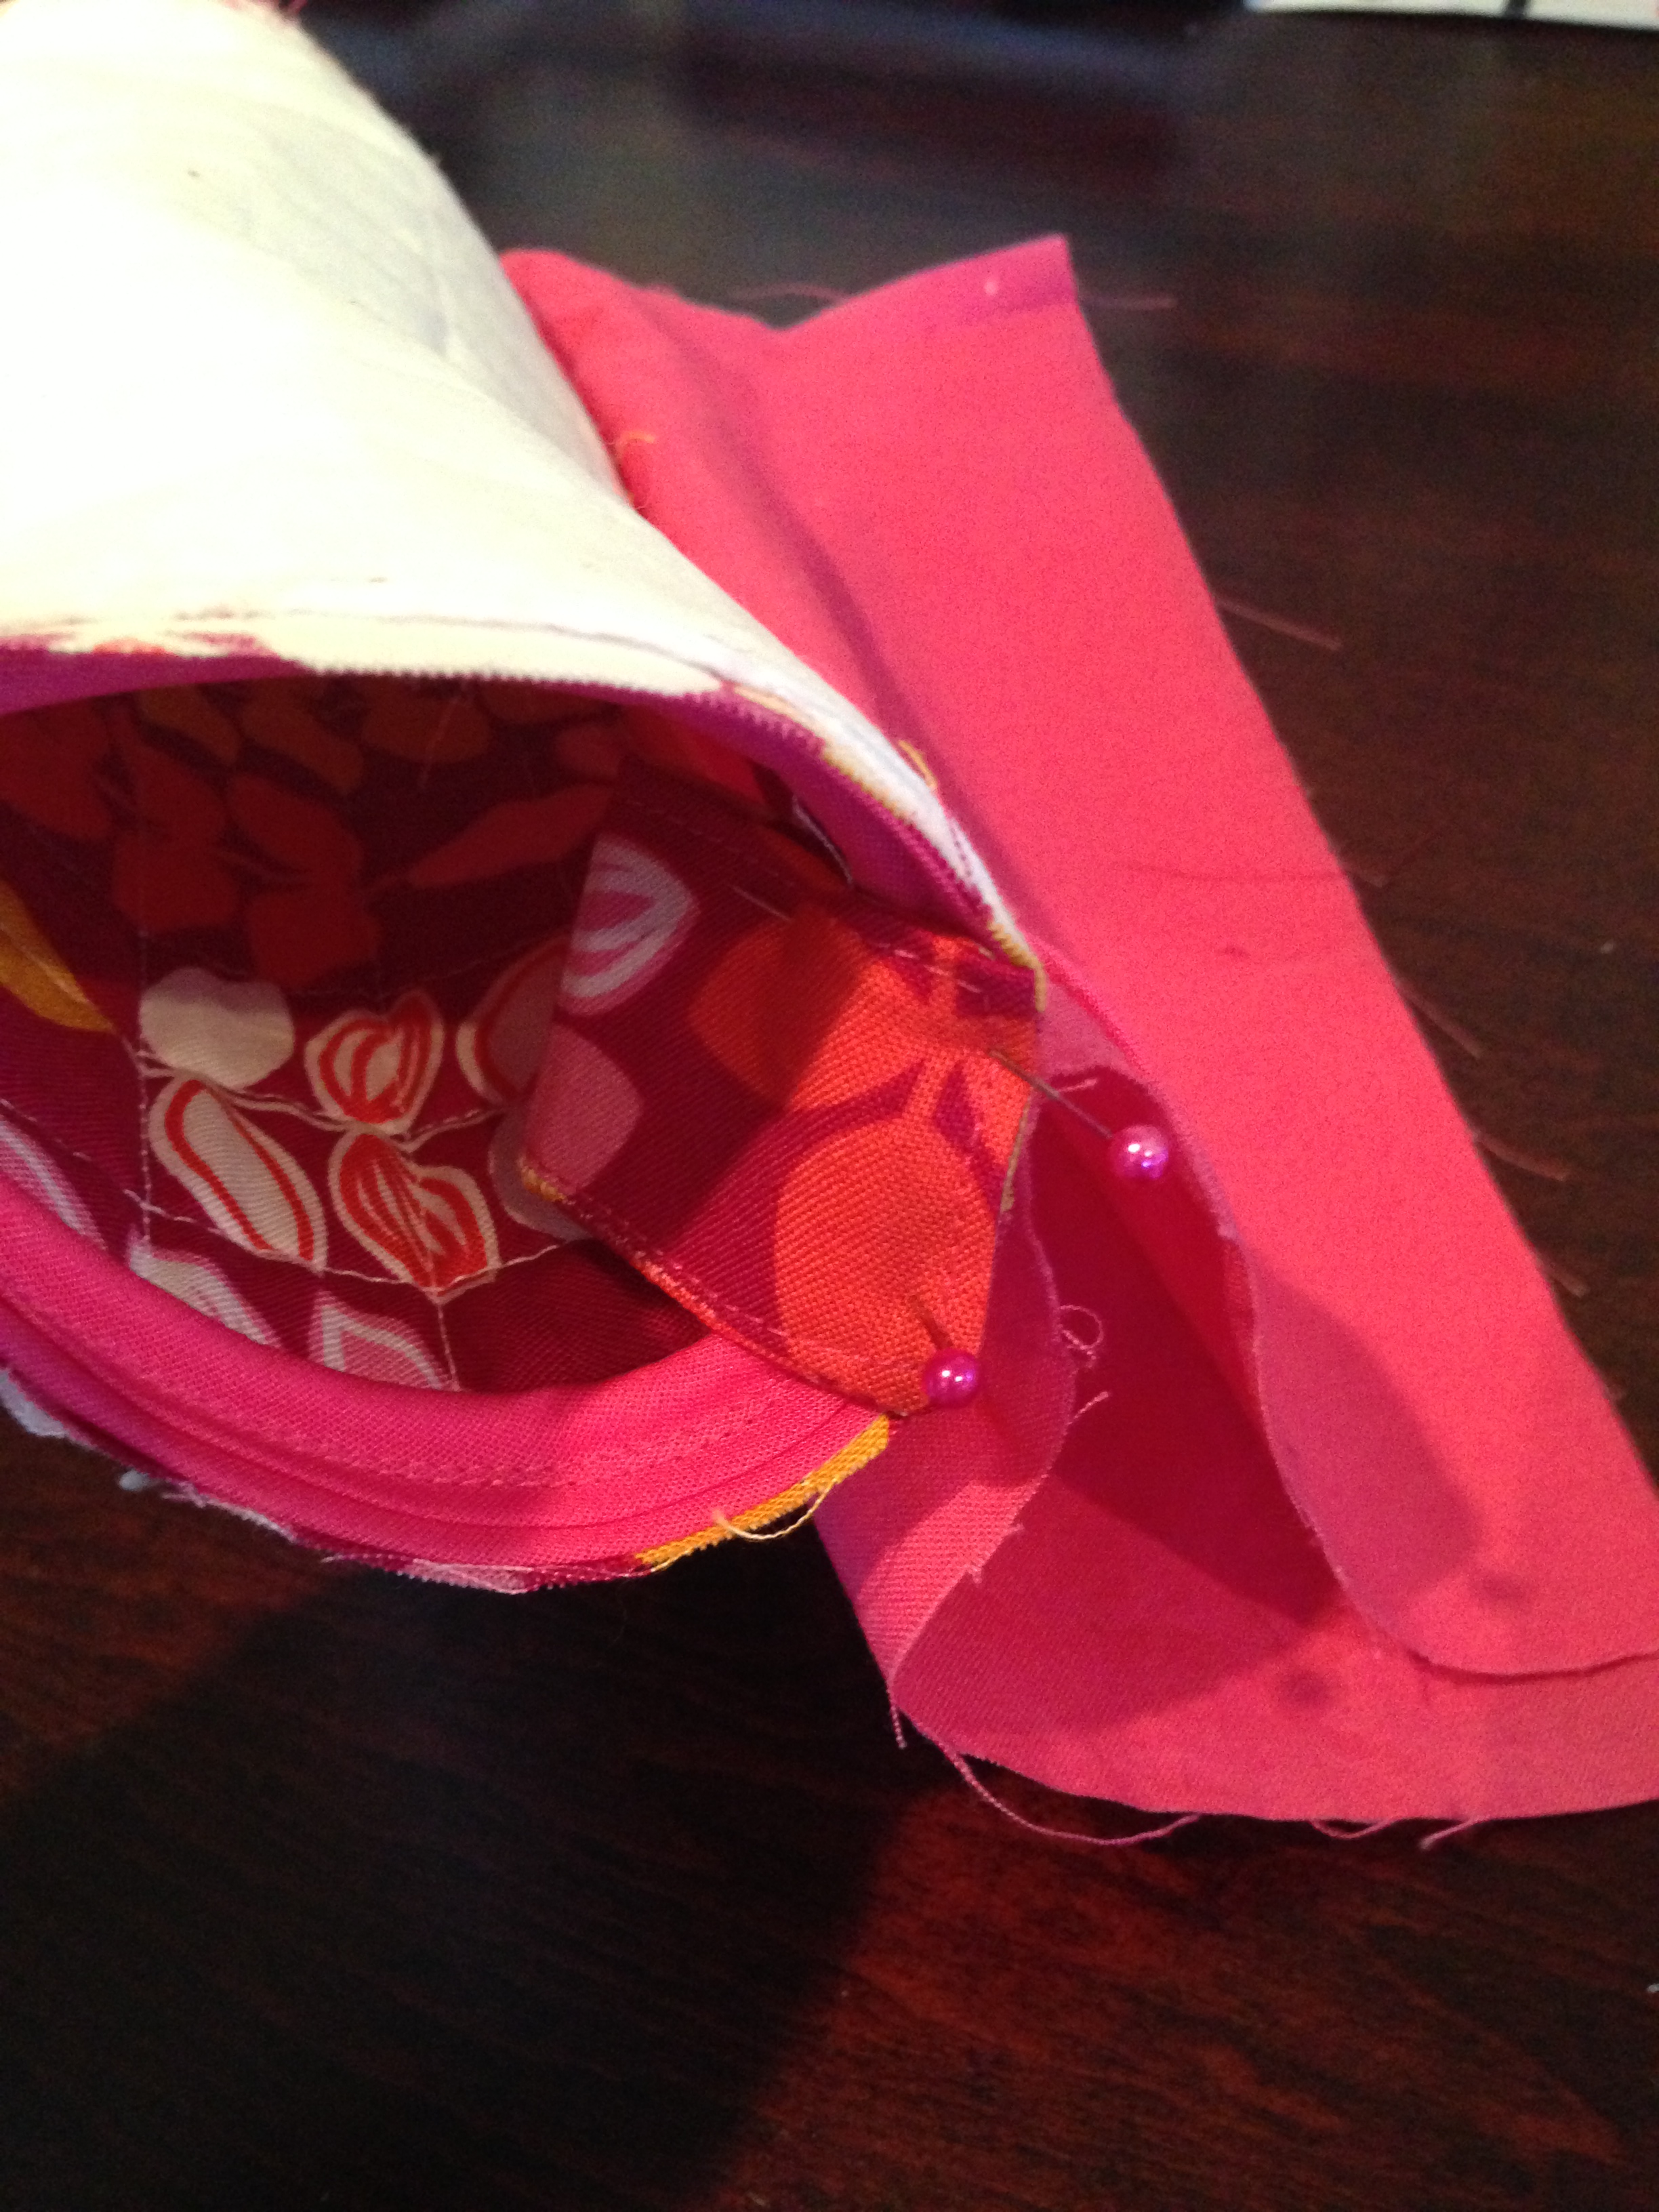
Now pull the outer fabric together as shown and also the lining fabric. Both should be at 2 sides of the zipper.
Stitch the long edge of outer fabric (see pic below).
Now put the folded pull tab on the circular side and pin it. Tab can be placed on one side or both the sides. I just used one.
Pin the circular quilted fabric on the side over the pull tab. On the other side pin the circle without the pull tab. Stitch 1/4″ seam along the circumference of the circle. The result is shown below.
Do exactly the same for the lining except there is no pull tab to place and keep the bottom of the lining open ( leave about 3 ” opening) as shown. This opening is needed to turn the fabric right side out.

Finally Wah La !
Now put your fingers inside the hole in the lining and pull the outer body of the fabric through the hole completely.You might struggle a bit but don’t worry it will work. Your pencil pouch is now ready. Isn’t it Magic or what?

I hope you liked my tutorial. Please feel free to ask me any question. You can email me or post in my Facebook page. I will be happy to answer it. Show off your project. Email me I can post it on my Facebook page.
Below is my inspiration for this project: I changed several dimension to make it easy for me and used quilting.
