Isn’t it bright and colorful? My heart gets filled with joy when I see bright colored quilts. This particular one is my personal favorite because not only the color of the quilt catches your eye but also you will be amazed to know how quick and easy it is to sew. You can simply finish it in one day if you are spending 4 hrs to sew. But if you are like me who can never manage to sit that long can do it in 2 days.
Here is the tutorial that I promised.
Few things you might want to know if you are first time quilter. Cotton is the most readily available fabric to make quilts with. In US quilters prefer to use cotton fabric and 100% cotton thread to sew. Thread is personal preference. You can use other polyester thread if 100% cotton thread is not readily available. Quilters quality cotton is a little heavy weight, unlike the cotton saree cotton which are very fine quality.
Also to note is all the stitches used are straight stitches with 1/4″ seam allowance. That means the stitch line will be 1/4″ away from the fabric edge.
I used cotton fabric strips of 2.5” wide. You can also get pre-cut 2.5” strips in your local fabric store. They are called jelly rolls. Yes you heard it right! They are not jelly but fabric rolls.
Here is what you need.
Any colorful fabric you can get hold of, cut them into long 2.5” inch strips. Since I cut from bolted fabric mines are 44″ long.
Also you need white or light color fabric strips to get a good contrast.
Rotary cutter
Ruler and cutting mat
(If you don’t have rotary cutter and mat use a ruler to draw exact 2.5″ strips on fabric and cut them with scissors)
And of course Sewing machine
I have shown the arrangement of the strips in the pics. 2 sets of arrangements needed.

Set 1 color-white-color

Set 2 white-color-white
Step 1:
Sew 1 white and 1 color strips together with right sides of fabric facing each other. Use a 1/4″ seam allowance. Once sewn together press the seam and open the fabric. Now it will look like this.

Step 2:
Sew the third strip with the already sewn strip set like so with one set1 and another set2

Step 3:
Put set1 and set 2 right sides together as shown and sew 2 long sides to make a tube.

Step 4:
Now is the most difficult part of the project. You need to cut the fabric tube in 45degree angle. I used a 9” square ruler. Place the ruler diagonally as shown right on top of the seam as shown and cut at 45 degree angle. Discard the first strip as it will be an incomplete part. Then moving the ruler aligned with either top seam or bottom seam cut triangles like shown. They are basically right angle isosceles triangles.

Step 5 If you have successfully finished the Step4, no need to worry. From now on everything is super easy, I promise.
Now take each triangle and press it open, and you will get a perfect square like below.
 If the square looks more like a rhombus, that means you have not placed the 45 degree angle line of ruler on the seam but probably on the edge of the fabric tube. Now don’t ask me how I knew ?
Now pat yourself in the back, because you have successfully made the block for the quilt. All you need is to assemble them.
Step 6
Assemble 4 of the blocks like shown to make a bigger square. The square should come roughly 16”x16”.
 Yeah! Done!
In my quilt I used 9 of such big blocks. Here is how it looks after piecing all the blocks.

Please don’t be shy to ask any question regarding this project. I would be happy to answer. Experts and friends please let me know do you like the quilt?


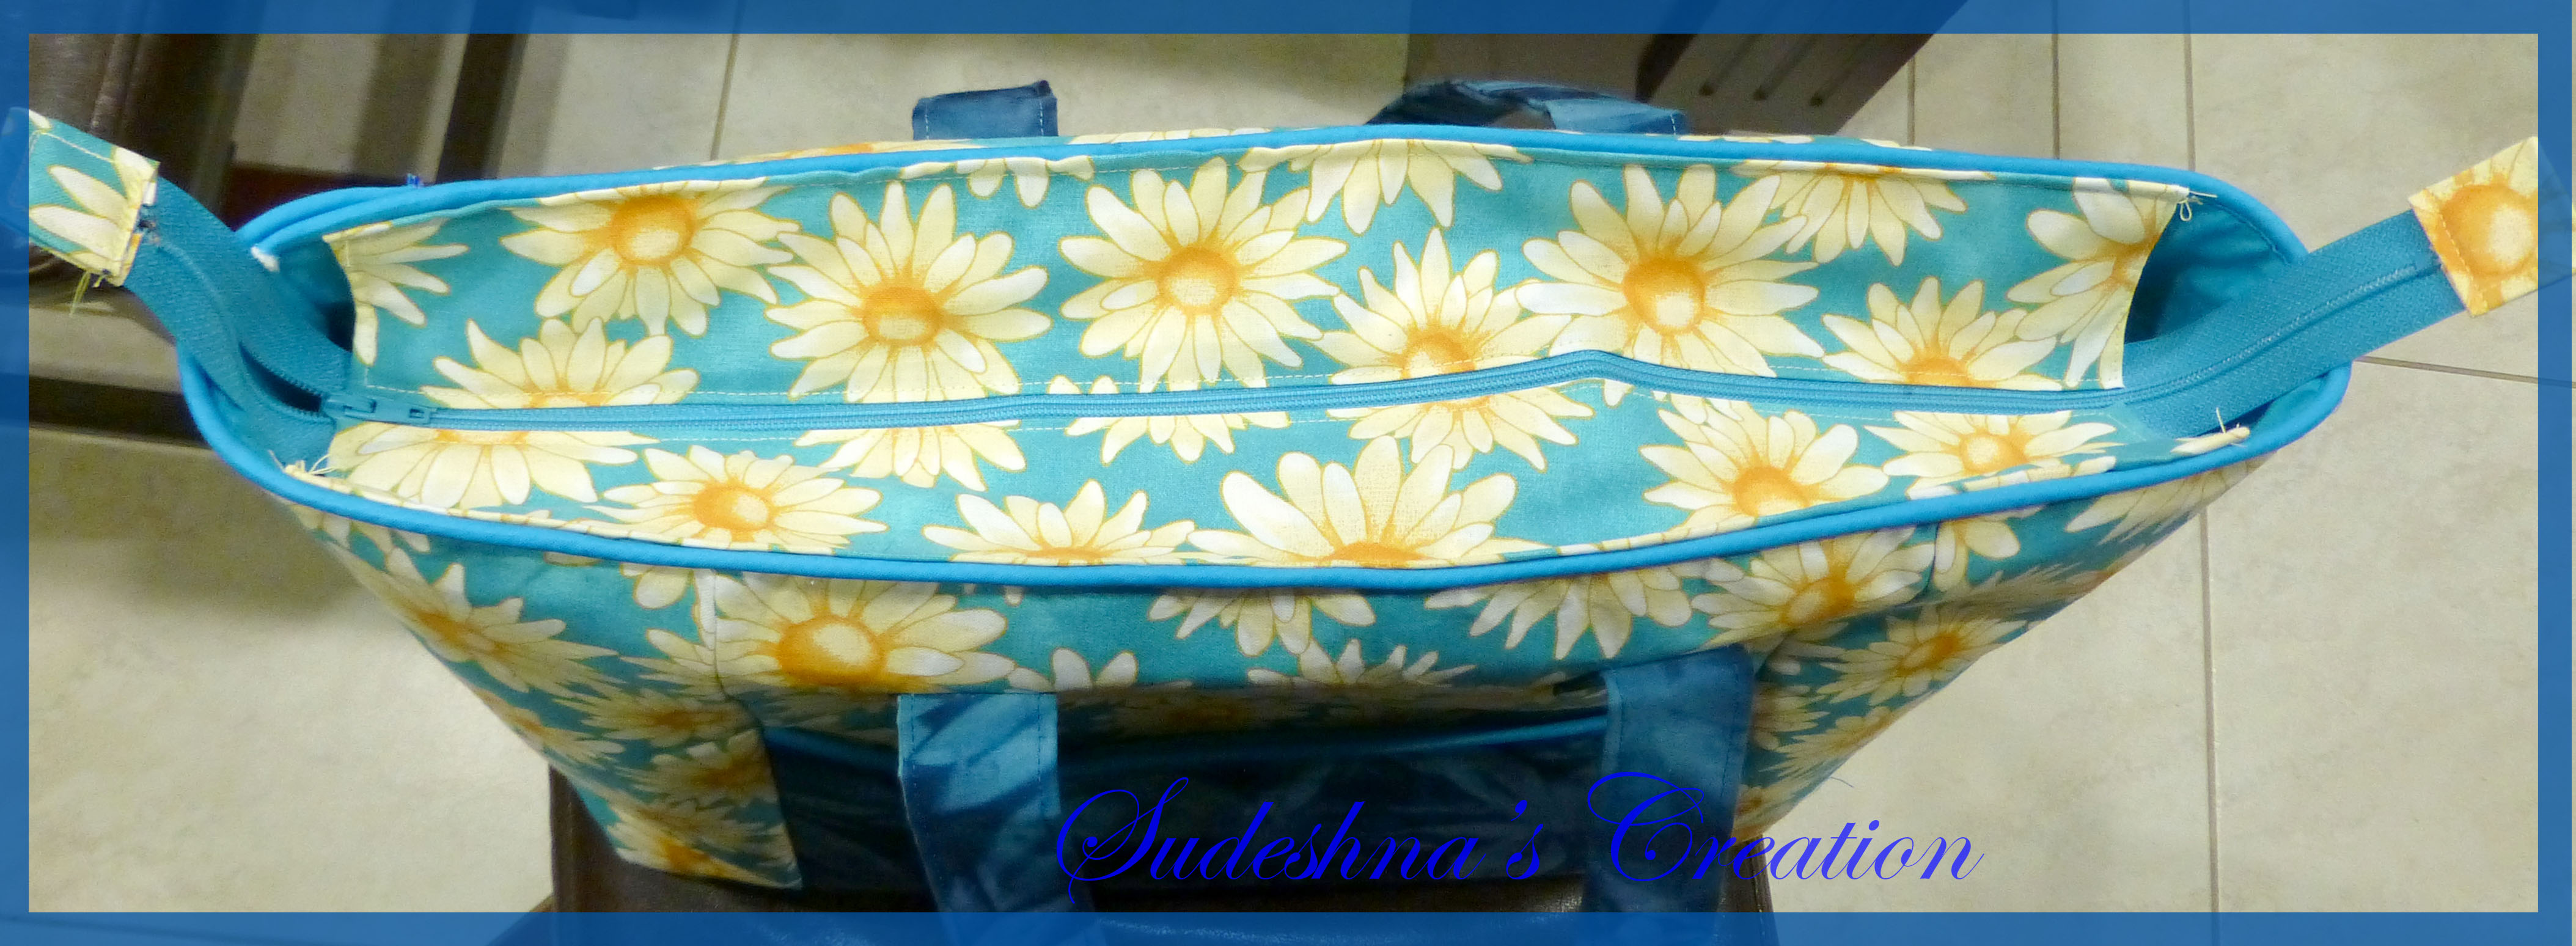
 This tote bag is quite roomy with long handles and can be used as a cross-body bag. The bag has a contrasting front pocket with magnetic snap closure.